Do Not Call
National legislation (TPS - Telephone Preference Service) or internal rules may implement a list of phone numbers that should never be called (barred numbers). The Do Not Call process allows you to set these numbers.
To access the Do Not Call manager, select the following menu options:


The Do Not Call list editor will now appear on an editing tab.
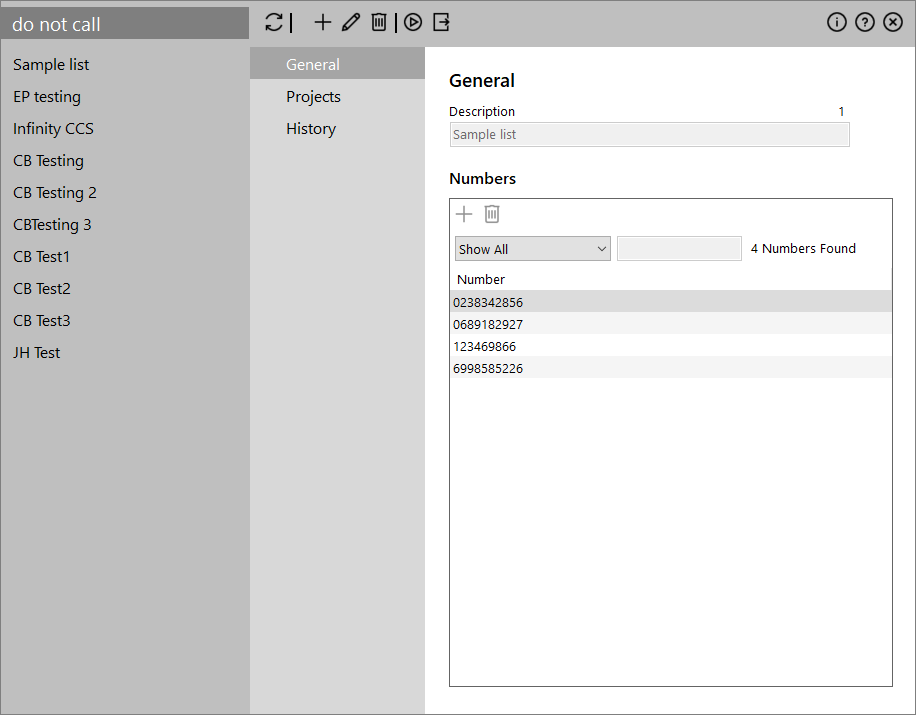
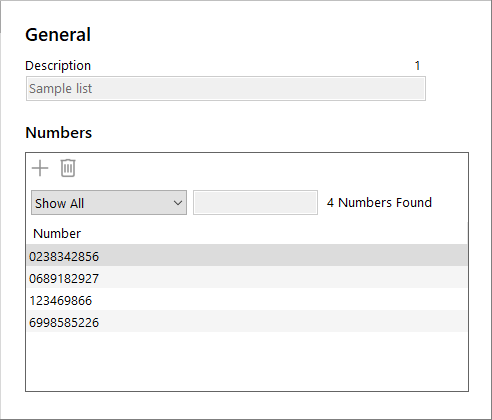
The left-hand side of the screen is a list of all the currently defined Do Not Call lists and the right-hand side of the screen contains the editing panel.
Actions
The following actions are available through the toolbar on the top of the right panel:
| Icon | Description |
|---|---|
|
|
Adds a new List by typing a Description and providing the parameters in Numbers and Projects tabs. |
|
|
Changes the parameters of a selected list. |
|
|
Removes the selected list from the system (with confirmation). |
|
|
Commits your changes to the system. |
|
|
Exports the barred numbers list to a text file in the local filesystem. |
|
|
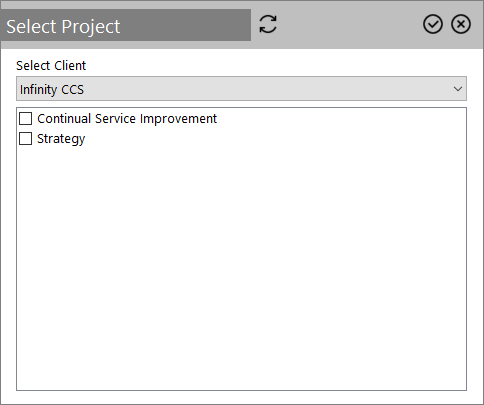
Performs a comparison between a project and a barred numbers list.
Select the project in the pop-up window and click the
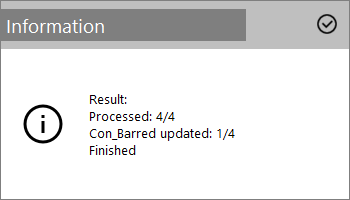
Upon finishing a result message is displayed.
|
Parameters
The parameters of each Do Not Call list are grouped in the following tabs on the right-bottom panel of the screen:
This tab contains the list of telephone numbers currently allocated to the list.
You can perform the following actions:
| Icon | Description |
|---|---|
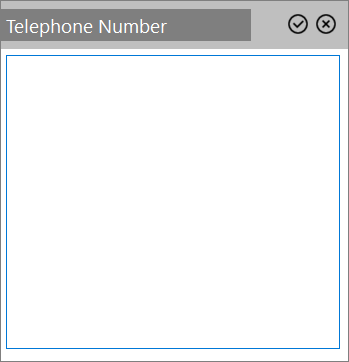
|
|
Allows you to type numbers (one per line) in a pop-up window. Then click the
|
|
|
Removes the selected number from the list after confirming the action. |
In order to compare imported records with Do Not Call lists, the Do Not Call lists need to be allocated to individual projects via this tab.
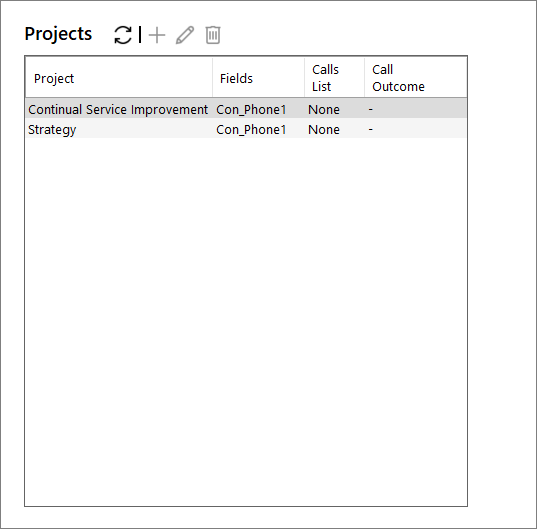
You can perform the following actions:
| Icon | Description |
|---|---|
|
|
Updates the list of projects. |
|
|
Allows you to add one or more projects in a pop-up window. Click the
|
|
|
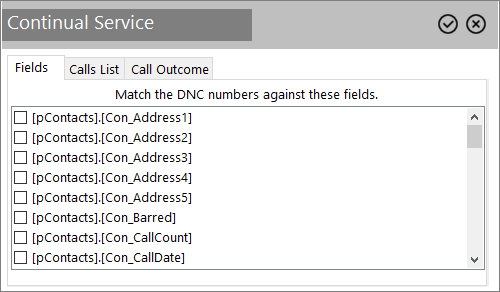
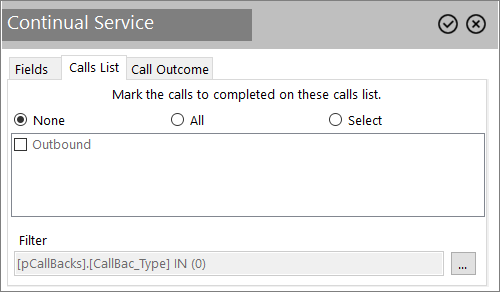
Allows you to customize the comparison and exclude process. Click the
Three (3) tabs are available: Define the datafields that contain a telephone number to match against (default is pContacts.Con_Phone1 only). Define the existing calls lists that should be cleared of barred numbers:
You can also customise the filter to be used during the process by clicking the ellipsis button on the bottom (default is only New records).
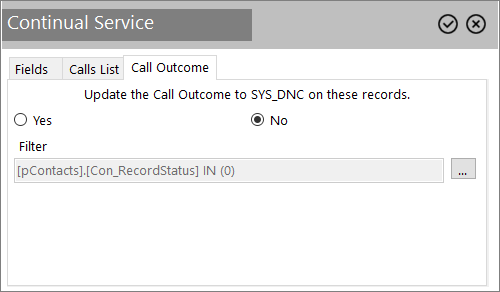
Decide if the matching records will be updated with the SYS_DNC call outcome (Yes or No-default).
You can also customise the filter to be used during the process by clicking the ellipsis button on the bottom (default is only New records). |
|
|
Removes the selected project(s) from the comparison list after confirming the action. |
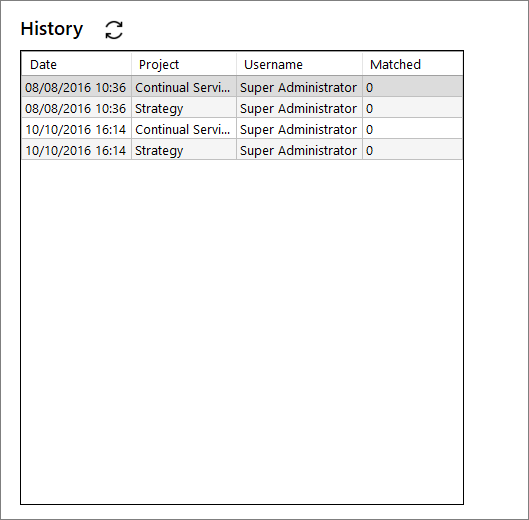
This tab shows the previous results of the compare and exclude process, including the date, the user and the number of matched records.