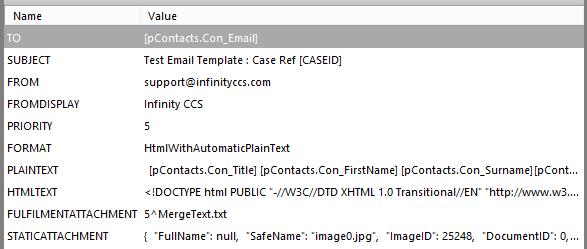
Edit Email Template

The email template editor allows you to specify the details of the email setting the formatting, alignment etc. as required.
To merge the details of the customer, or other data held in the script, you need to include tags within the template. The tags are formatted as [name] where name is either the script variable or database field name. For example to include the agents name you would insert the tag [AGENTNAME].
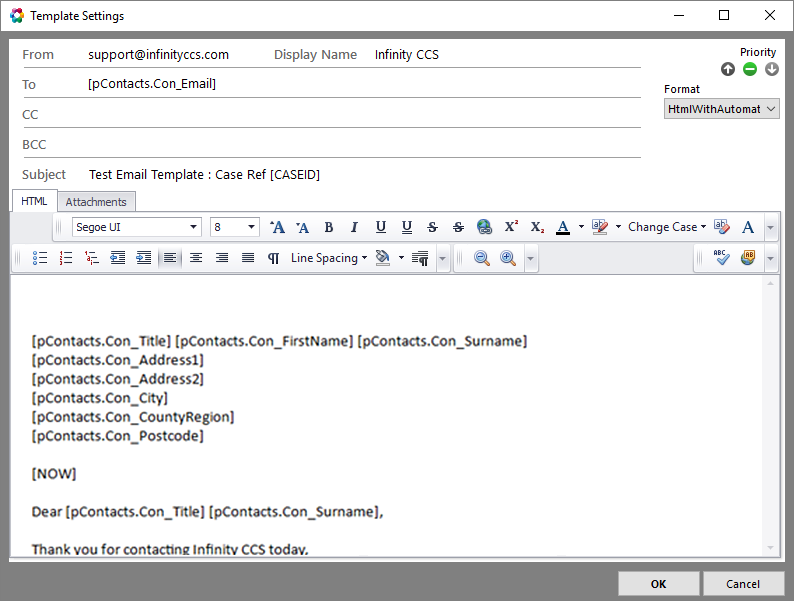
- From: This is the senders email address and can be a fixed address or a variable
- Display Name: This is the display name for the sender and can be a fixed string or a variable
- To: This is used to set the recipients email address and would normally be set to a variable such as [pContacts.Con_Email]
- CC: This allows you to specify the CC address for the email and can be a fixed address or a variable
- BCC: This allows you to specify the BCC address for the email and can be a fixed address or a variable
- Subject: This is the subject of the email and can be a fixed string, a variable or a mixture
- Priority: This allows you to set the priority of the message, where:
 = high
 = normal
 = low
= low
- Format: This is used to determine the format of the email message, the options are:
- PlainTextOnly = The message will be plain text
- HTMLOnly = The message will be HTML
- HTMLWithAutomaticPlaintText = The message is written as HTML as a plain text version is automatically generated
- HTMLWithFixedPlaintText = You need to define the HTML and Plain Text messages
You can place images in the template by exposing the “Illustrations” toolbar. To do this you need to right-click the menu bar and select “Illustrations”.
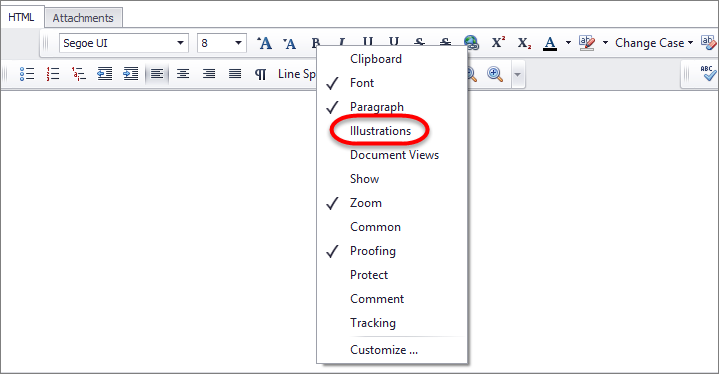
This will show an extra toolbar:

Click either button to bring up the Infinity image library which will allow you to select an existing image or upload a new image.
You can import existing documents and then amend them. To do this you need to right-click the menu bar and select “Common”.
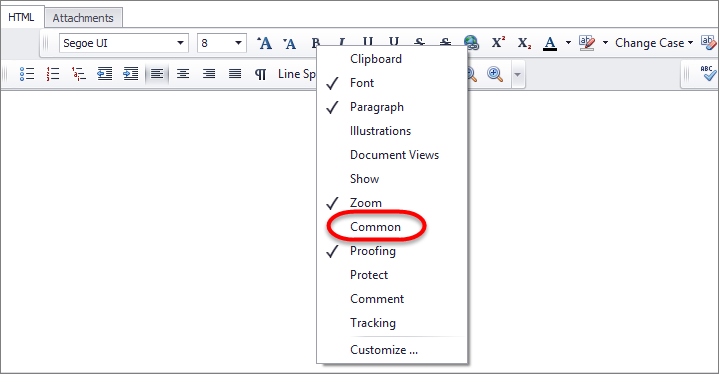
This will show an extra toolbar:

Click the 4th icon to bring up the “Open File” dialog and select your existing document. This can be in any of the following formats:
- RTF
- DOC / DOCX
- HTML
- TXT
- ODT
- EPUB
Once you have selected your file click the Open button and the file will be loaded into the editor.
The form also allows you to include fixed attachments, through the Attachments tab.
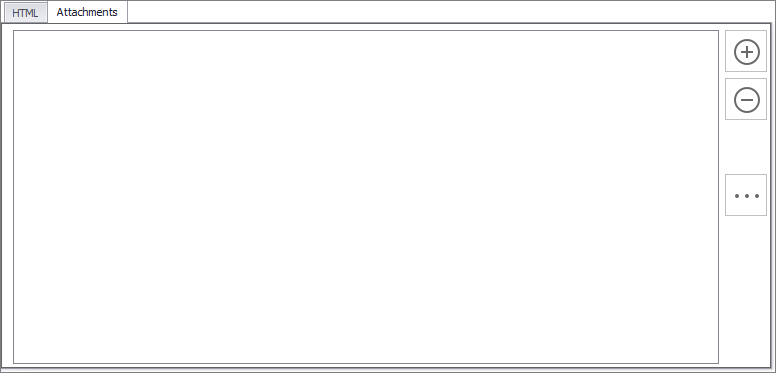
Click the ![]() icon on the right to add an attachment.
icon on the right to add an attachment.
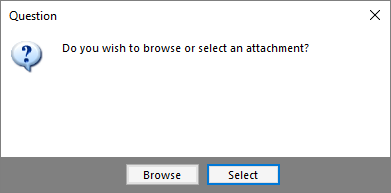
You are presented with two choices through a dialog box:
-
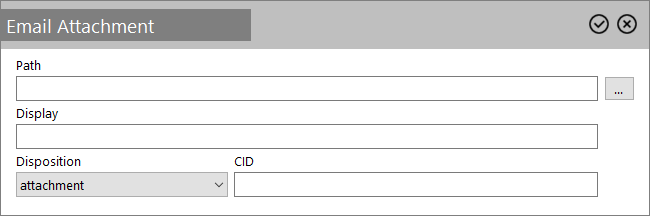
Browse: Use the ellipsis button to select the file you wish to attach through the file selection dialog and then click the
 icon.
icon.
-
Select: Any fulfilment templates of Attachment type appear here for selection.

Once you have completed the template click the ![]() icon to confirm the changes. This will create one or more entries in the setting section of the Template.
icon to confirm the changes. This will create one or more entries in the setting section of the Template.