Data Source
The Data Source functionality allows users, with the relevant permissions, to upload and configure their own Data Sources from CSV and Excel files. To access the Data Source, click Data Source on the Menu links panel at the top of the screen.
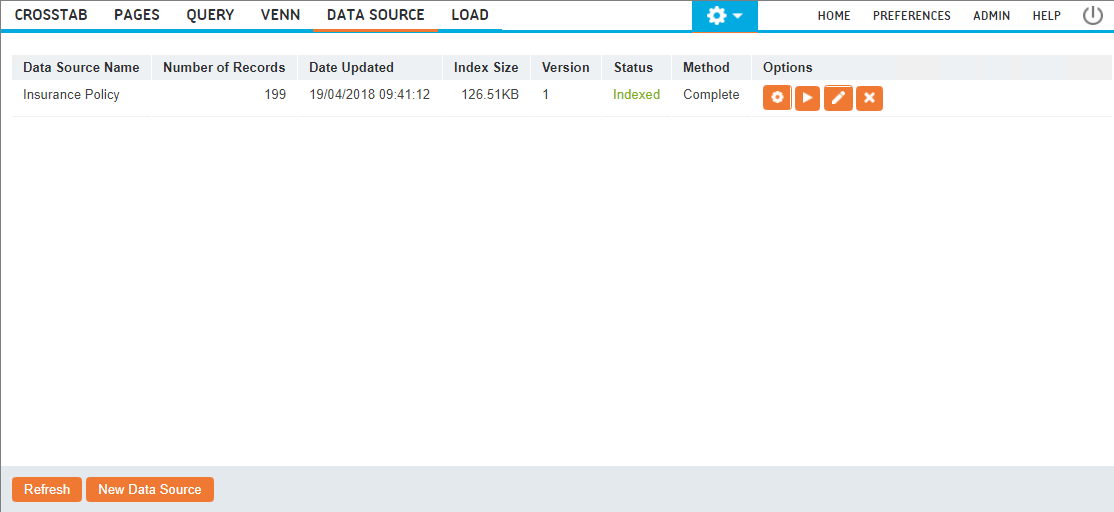
The created Data Sources are displayed in a list with a number of options used to maintain and modify the data made available to users. The following options are available for each data source:
| Icon | Action | Description |
|---|---|---|
|
|
Advanced Options |
Opens Step 5 of the 'Create New Data Source' wizard. |
|
|
Run | Applies any changes made to a Data Source ensuring any further configuration is applied to the underlying data. |
|
|
Edit |
Opens the Create New Data Source wizard. Once every step has been completed, the build will automatically be refreshed to apply the changes made. |
|
|
Remove |
Deletes a Data Source by permanently removing all reports and associated data. |
The following buttons are available on the bottom of the sceen:
- Refresh: Allows you to monitor the build progress found in the Status column. Note that each build will update the number displayed in the Version column.
- New Data Source: Allows you to create a new data source.
Create New Data Source
The options are presented through a wizard with various steps. Click Next or Back to navigate to the next or previous step respectively.
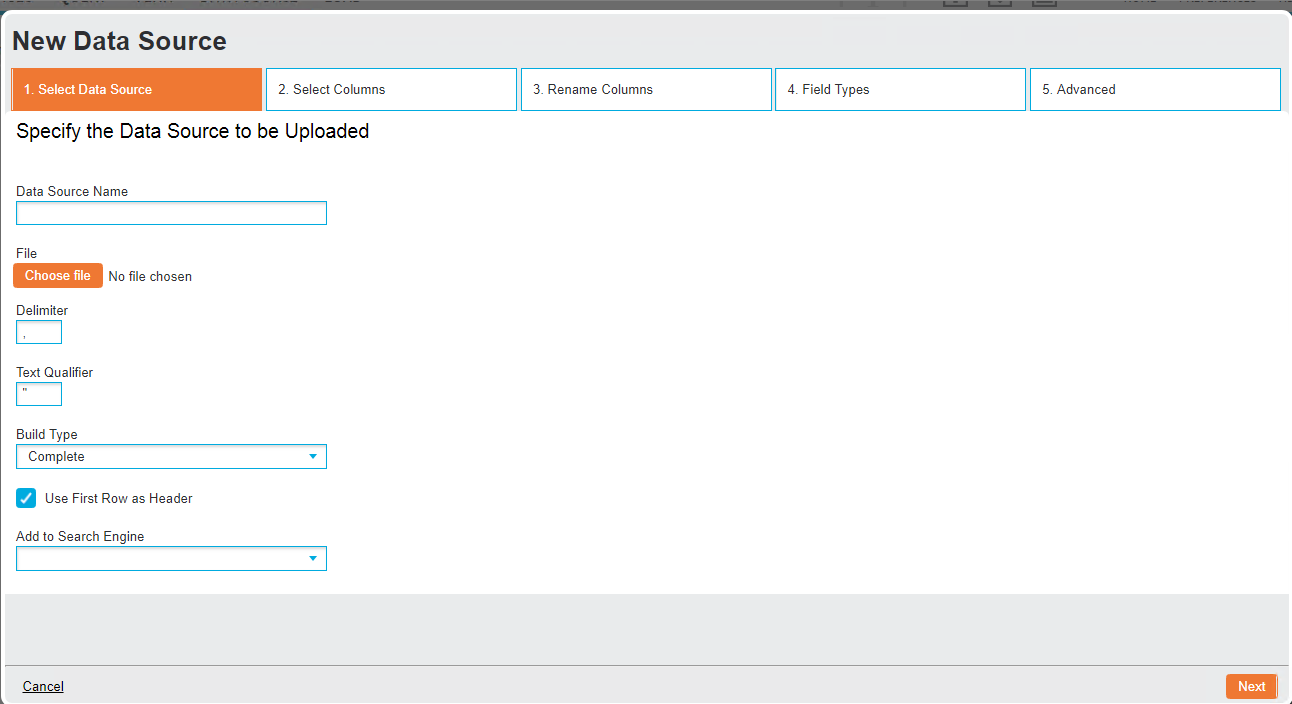
In this step, the data will be uploaded and the build process specified.
- Data Source Name: Type a meaningful name for the data source.
-
Choose File (button): Opens a file browser for selecting the appropriate CSV or XLSX file.
CSV options
 Delimiter: Type the symbol that will separate the values Text Qualifier: Type the symbol that will mark the start and end of each value
XLSX options
Sheet: Specify the sheet number for a multi-sheet XLSX file - Build Type (drop-down list): Applies when the Index is refreshed to account for any changes.
- Complete: Re-indexes all items in a Data Source. Once complete, a new version number is applied to the Index. Each run completely refreshes the Index.
- Incremental: Enables an optimised refresh process when rebuilding Indexes to account for any changes. Rather than rebuilding the entire Index, only data that has been modified or added will be processed.
- First Row as Header (checkbox): Enable this to set the contents of the first row as the column headings in the resulting output.
- Add to Search Engine (drop-down list): Select a Search Engine the new Data Source will be added to once configured.
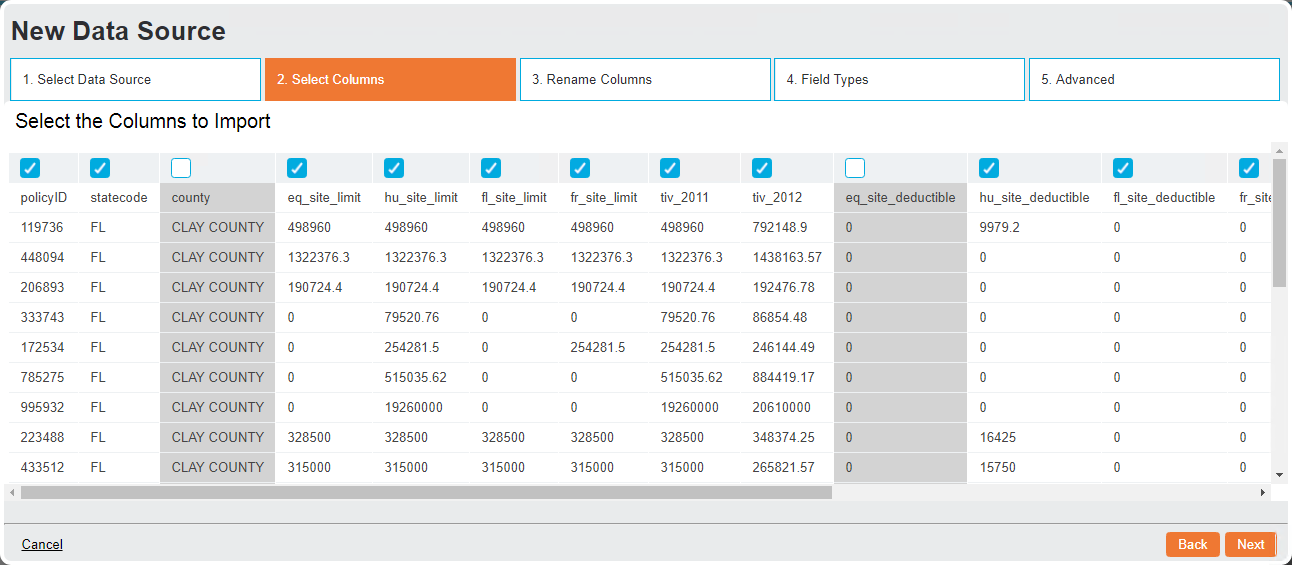
Now that the columns have been mapped, you can remove any unnecessary columns from the output by unchecking their checkboxes. Those columns will be greyed out.
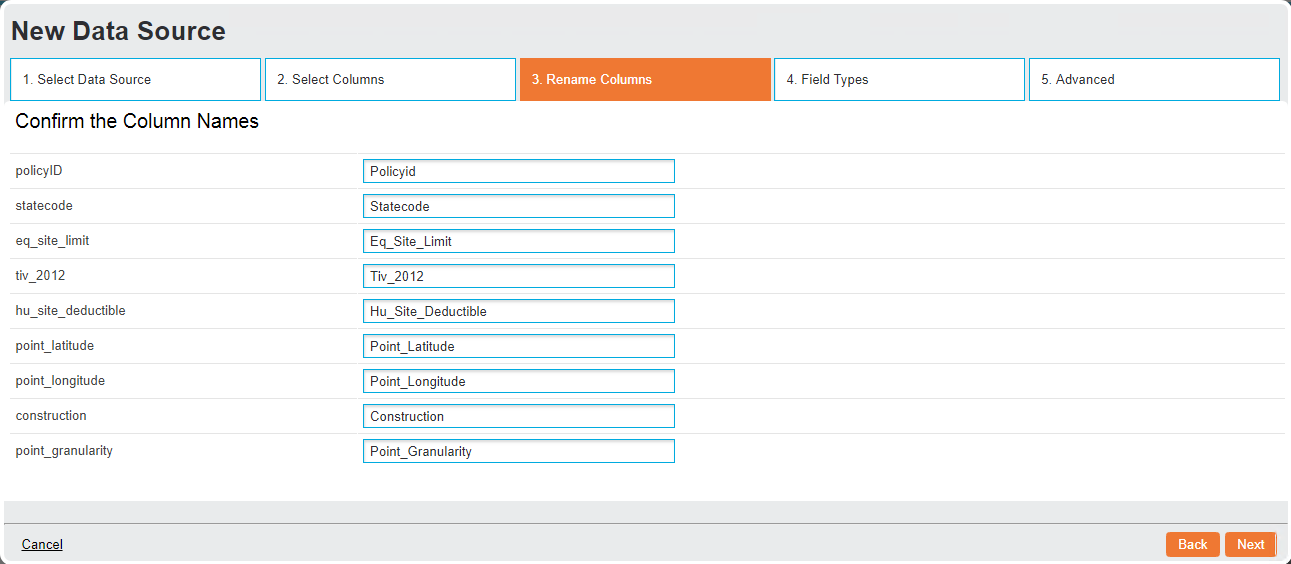
In this step you can rename the labels of the imported columns.
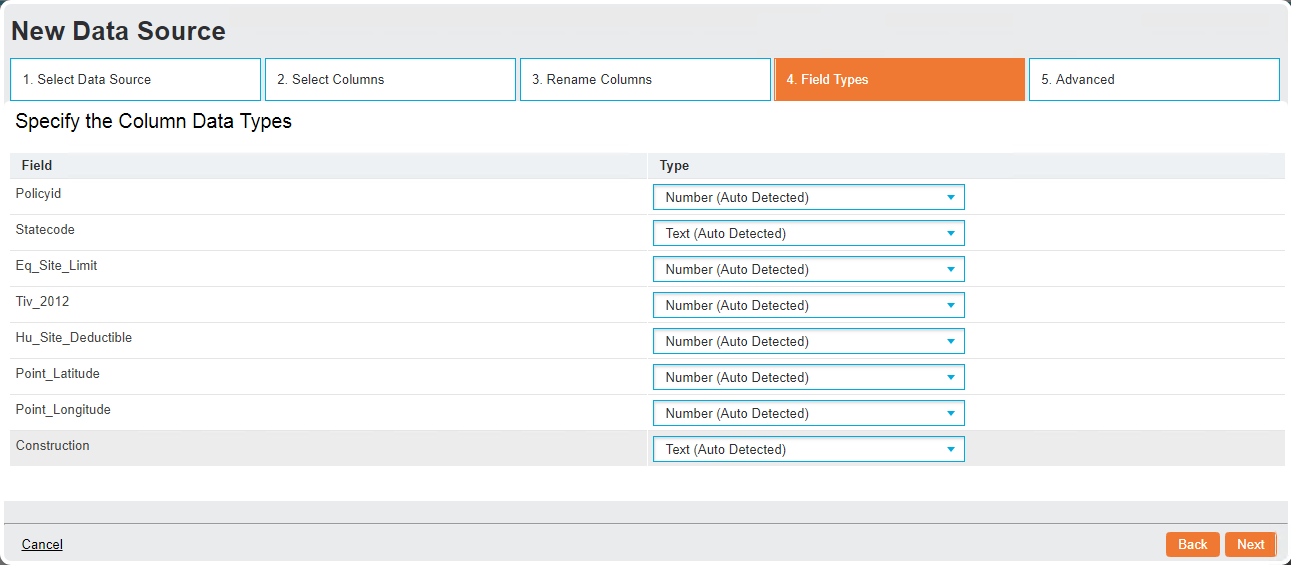
To ensure the data is imported correctly, the data type must be correctly configured for each column. The Type drop-down list next to each field shows data type that is automatically detected but you can override this by selecting another type as necessary.
The following data types are available for conversion:
Data Type Conversion
Use these options to convert individual fields to a number of different formats.
- Force Date Field/ Force Number Field: Change how the field is recognised in other functionality areas. You can specify the value format in the textbox underneath.
- Force Text Field: Change how the field is recognised in other functionality areas.
- Timestamp: Will attempt to convert the contents of the field into a time field matching the format selected in the subsequently available format drop-down list.
Strings
These options allow string values to be systematically modified to enforce consistency across the source data.
- HTML Field: Converts the field into HTML format (useful when reporting requirements dictate a specific data format).
- JSON: Outputs the data in JavaScript Object Notation format (useful when reporting requirements dictate a specific data format).
- Literal: Imports the field without removing any leading or trailing spaces.
- Lower Case: Displays contents in lower case.
- Proper Case: Displays fields with the first letter of every word capitalised.
- Remove Spaces: Deletes spaces between words.
- Upper Case: Displays contents in upper case.
Obfuscation
These options allow selected fields to be obscured, preventing individual records from being identifiable.
- Anonymise: Numbers fields to obscure the original field names.
- Dual MD5/ Dual SHA-2/ Dual SHA-3 MD5/ SHA-2/ SHA-3: These options hash or double hash the fields to suit individual security requirements.
Third Party
The Third Party options allow the conversion to a number of supported data types.
- JD Edwards Date CYYDDDD (Century, Year, Day of Year)/ JD Edwards Date CYYMMDD (Century, Year, Month, Day of Month): These options provide conversion to the J.D Edwards format of recording dates
- MS Excel Date Serial Number: Converts date fields to the sequential serial number used in Microsoft Excel to retain compatibility with Excel calculations.
- The SQL Latin 1 General CP1 CI AS Numeric: Converts the fields into a SQL collation string using Latin rules, code page 1, case insensitive and accent sensitive string.
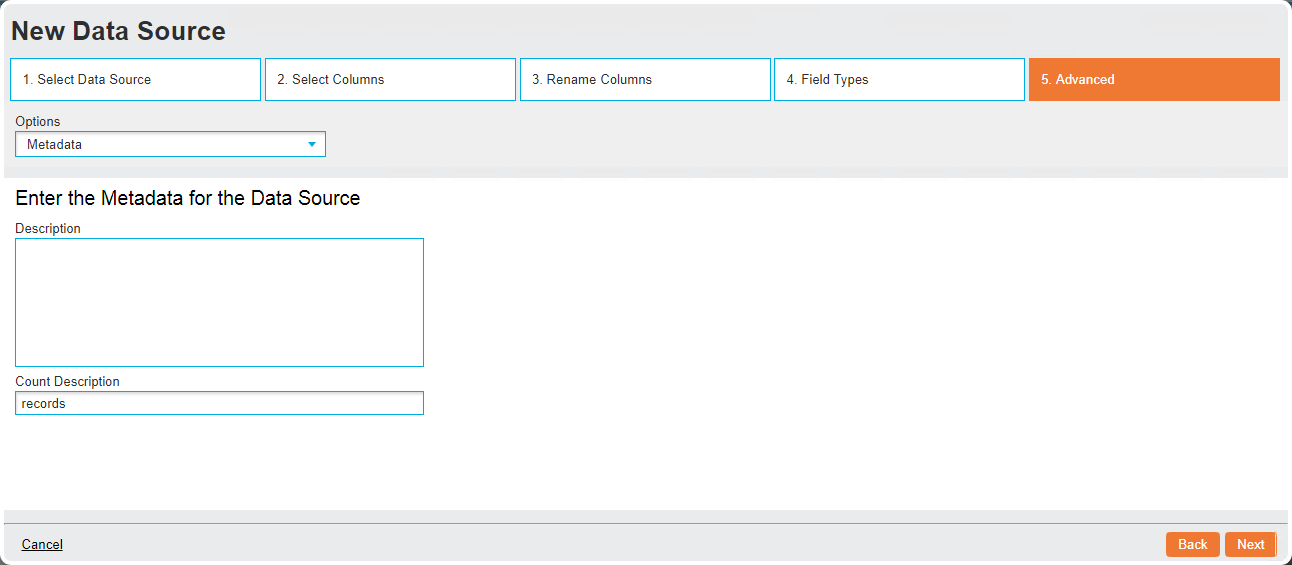
The following Options are available through the drop-down list:
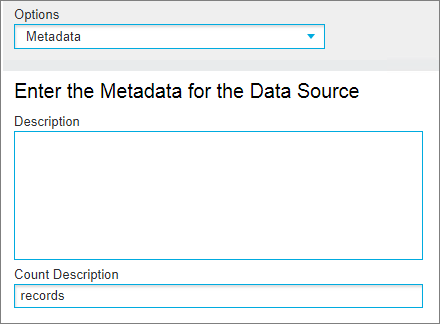
- Description: Enter a descriptive text that will be visible to those who have access to the report.
- Count Description: Customise the wording displayed on the Home screen for the number of contained documents.
It shows all of the specified date fields allowing you to split individual parts of a date field into separate fields.
-
Split Column (drop-down list): Select an individual component of the date field (Day, Month, etc) and make note of the Format column, where the available components for each date field are detailed. A number of fields will be created below depending on the original field format and the option selected. You can rename the new fields or remove them completely by clicking the x icon at the end of the first field.
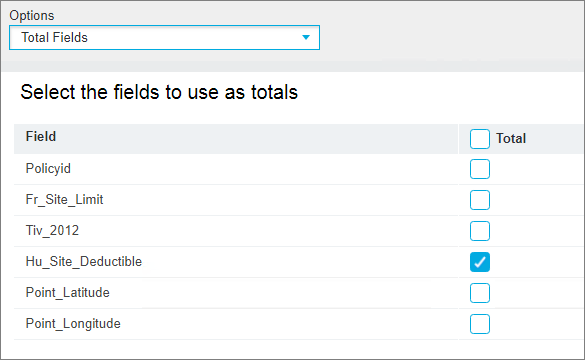
Specify the fields that will be used as totals by enabling their checkboxes in the Total column. Click the Total checkbox to select them all.
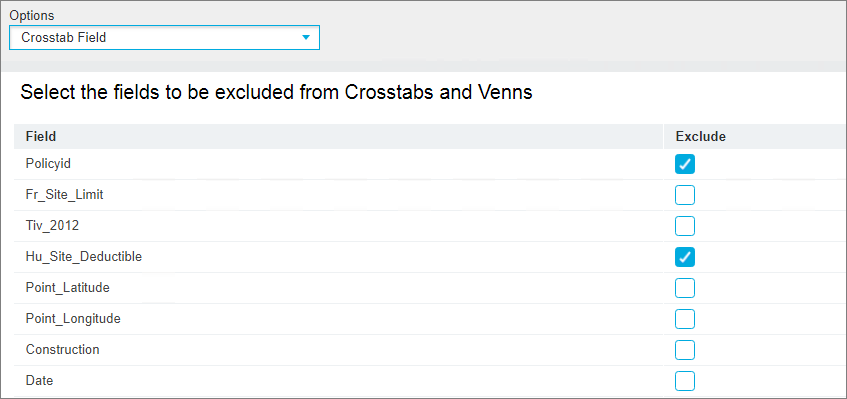
Specify the fields to exclude from the Crosstab and Venn diagram functionality by enabling their checkboxes in the Exclude column.