Add a Client
This tutorial presents how to add a new Client for grouping projects.
-
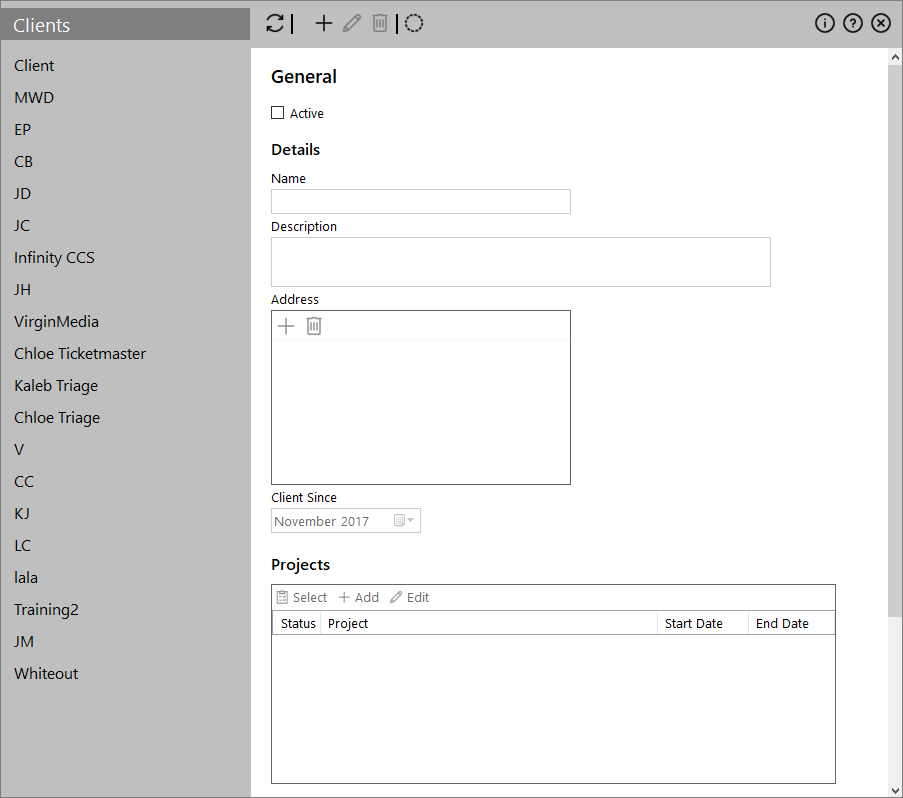
Navigate to the Global> Client/Project> Clients menu.


-
Click the
 icon on the top toolbar.
- Provide a Name and (optionally) a Description.
- Click the the
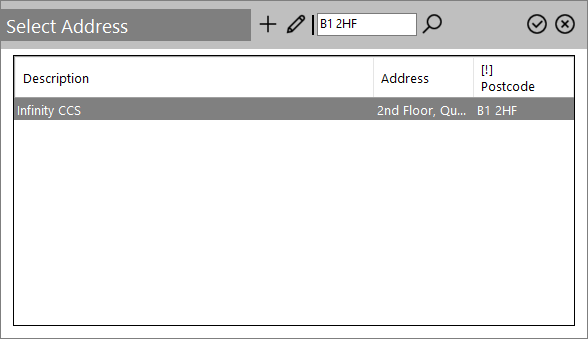
 icon below the Address text box to open the address picker.
 -
Select an address or click the
icon to add a new one.
Click the
 icon.
icon. - Click the
 icon.
icon.
- Select the client you have just created and click the
 icon on the top toolbar.
 -
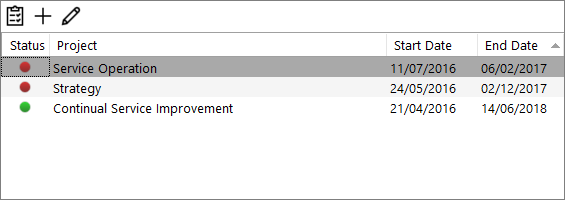
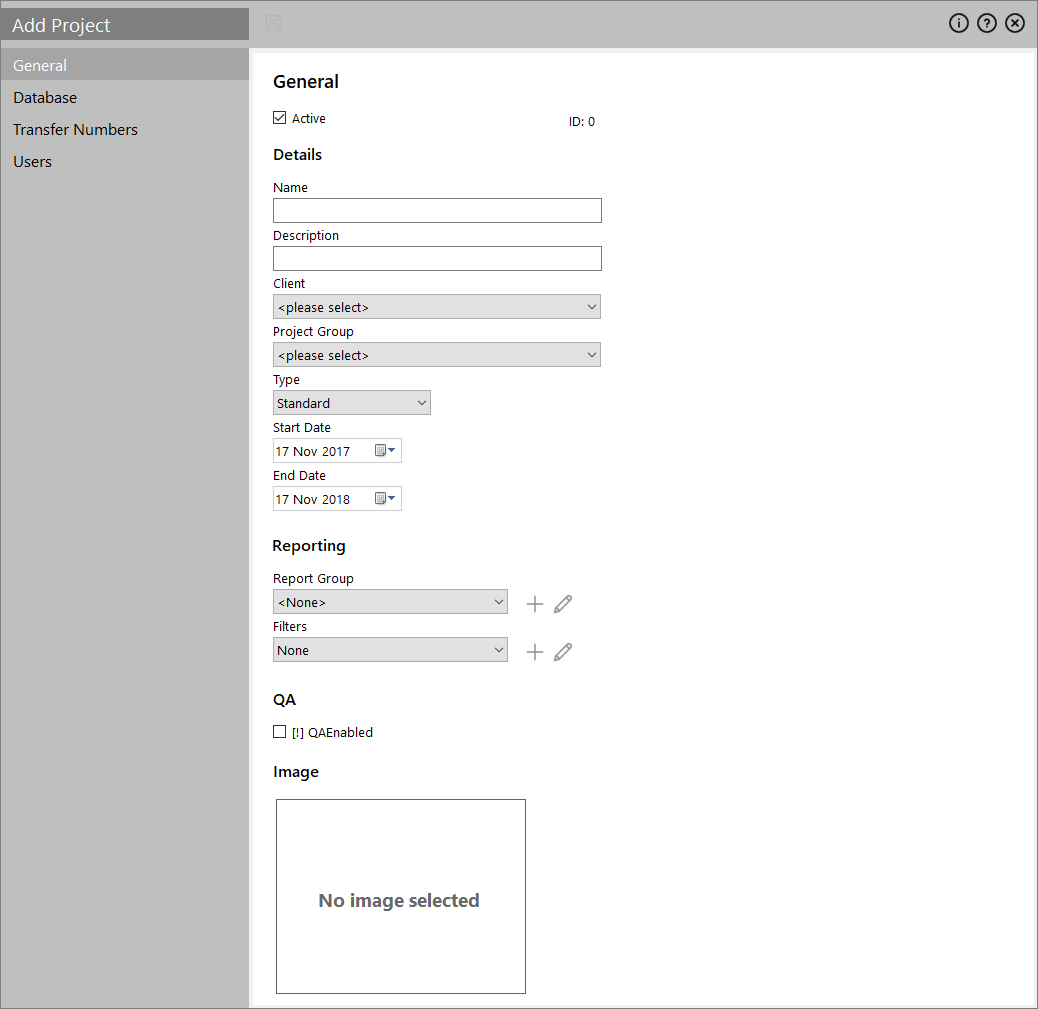
In the tab 'Projects' on the bottom, click the
icon.
-
Provide the project details such as Name, Type, Validity Period, Reporting options, Users associated to the project, etc. Leave the value of the Client field as it is.

- Click the icon.
- Return to the 'Clients' tab. The new project has been added to the client.
- Select the client you have just created and click the icon on the top toolbar.
-
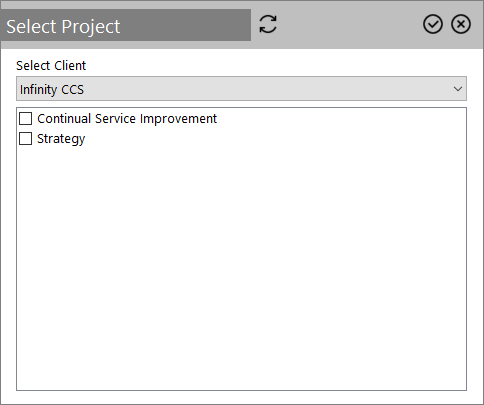
In the tab 'Projects' on the bottom, click the
 icon on the toolbar to open the 'Select Project' pop-up window.
-
Use the drop-down list to select the client the project you wish to move belongs to.

- Check the project(s) and click the icon.
- Click the icon.
Add a Client review
In this tutorial you learned how to:
- Create a new Client
- Add new Project to the Client
- Add Project(s) from another Client