Add a User
This tutorial shows how to create a new user along with permissions, access levels and roles.
-
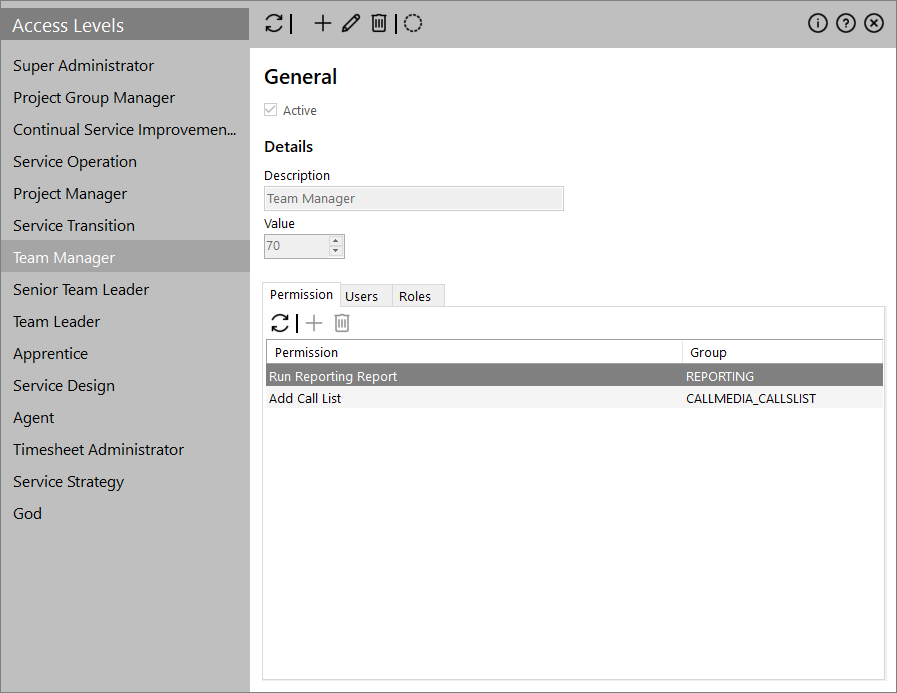
Navigate to the Global> Users/Security> Access Levels menu.


-
Click the
 icon on the top toolbar.
- Provide a Description and Value.
- Use the tabs on the bottom to assign Permissions, Users and Roles to the new access level.
- Click the
 icon.
icon.
-
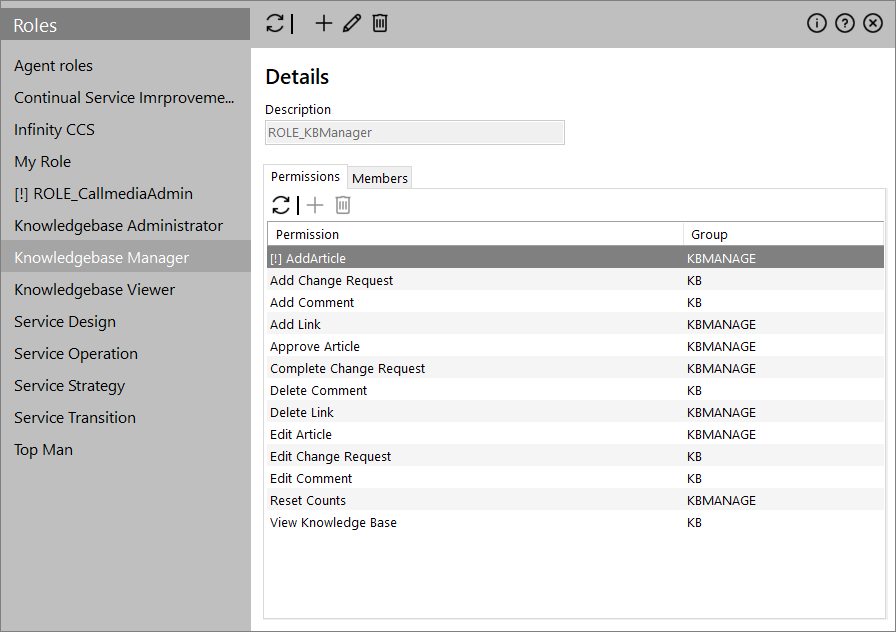
Navigate to the Global> Users/Security> Roles menu.

-
Click the
icon on the top toolbar.
- Provide a Description.
- Use the tabs on the bottom to assign Permissions and Members to the new role.
- Click the icon.
-
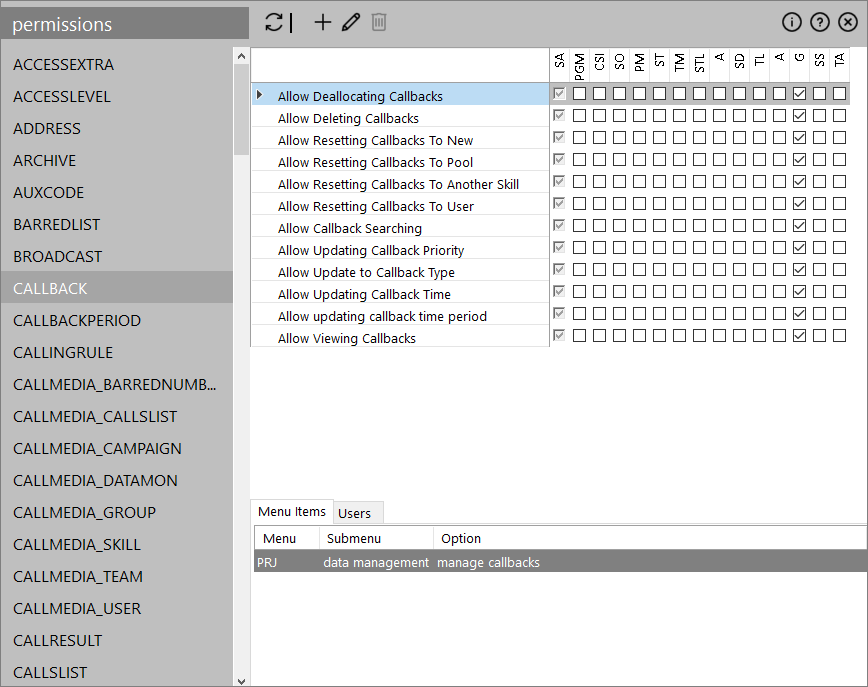
Navigate to the Global> Users/Security> Permissions menu.

-
Select a permission group on the left list.

- Click the icon on the top toolbar to add a new permission to the selected permission group.
-
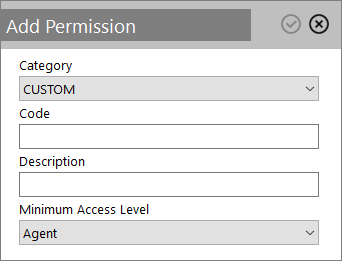
Define the permission's parameters:
- Category: You can only add new permissions to the CUSTOM or CUSTOMSCRIPTRUNNER categories. The other category permissions contain pre-defined console (menu-based) permissions.
-
Code: The text code of the permission. You have to prefix the code with the name of the category followed by an underscore. So this should be "CUSTOM_" or "CUSTOMSCRIPTRUNNER_".
Important: If you don't use the category prefix before the code you will get an error.
- Description: A descriptive text for the new permission
- Minimum Access Level: This provides a quick way to allocate the permission to an access level

Click the
 icon.
icon. - Click the icon.
-
Navigate to the Global> Users/Security> Users> Users menu.

-
Click the
icon on the top toolbar.
-
Add the Logon ID along with the user’s name, Access Level, Skill Group and Reporting Team.
Note: The default password is password.

-
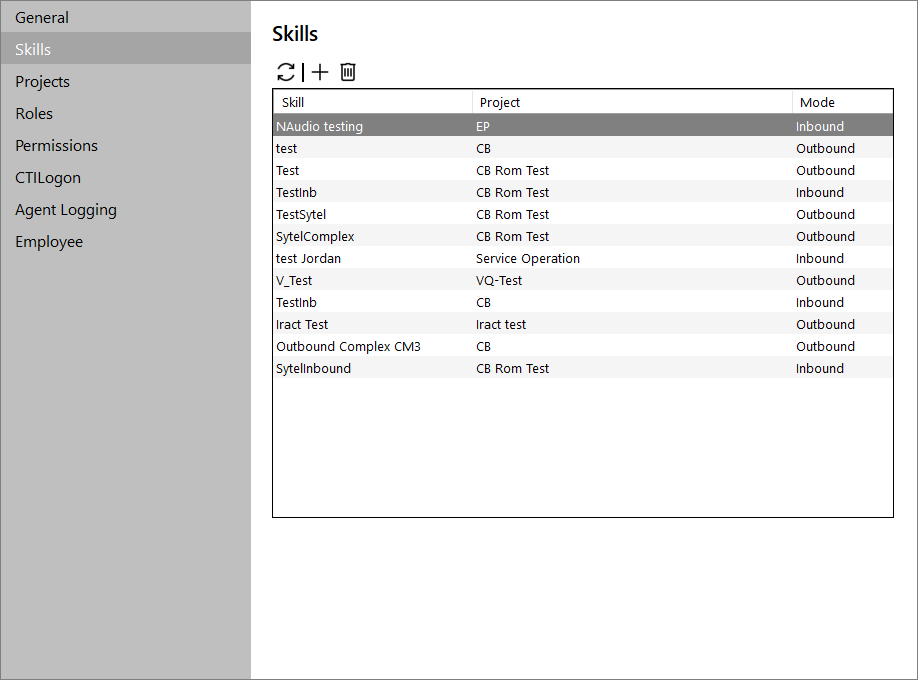
Using the available tabs add Skills, Projects, Roles and Permissions.

-
If Infinity is LDAP integrated then add the mapping to the user’s LDAP domain and username on the 'General' tab.
Note: There are two levels of LDAP integration – verify and check. The verify setting requires the user to re-enter their password, however, the check setting simply matches the account and assumes that the user has access to Infinity since they’re successfully logged into the domain.
If the Email address is added, then this can be used to send SMTP messages to this user from scripts designed in the Script Designer in Infinity.
- Click the icon.

Add a User review
In this tutorial you learned how to:
- Create a new Access Level
- Create a new Role
- Manage Permissions and map the to Access Levels
- Create a New User