The Style Editor allows you to define a set of “styles” for the various screen controls that you are using for a project. When adding controls to a script you can select a style, which will set a number of properties on the control to the defined values and ensure consistency. Additionally you can modify the style and quickly reapply it to all the controls within a script using the  button in the Script Features screen.
To open the style editor select the following menu options:


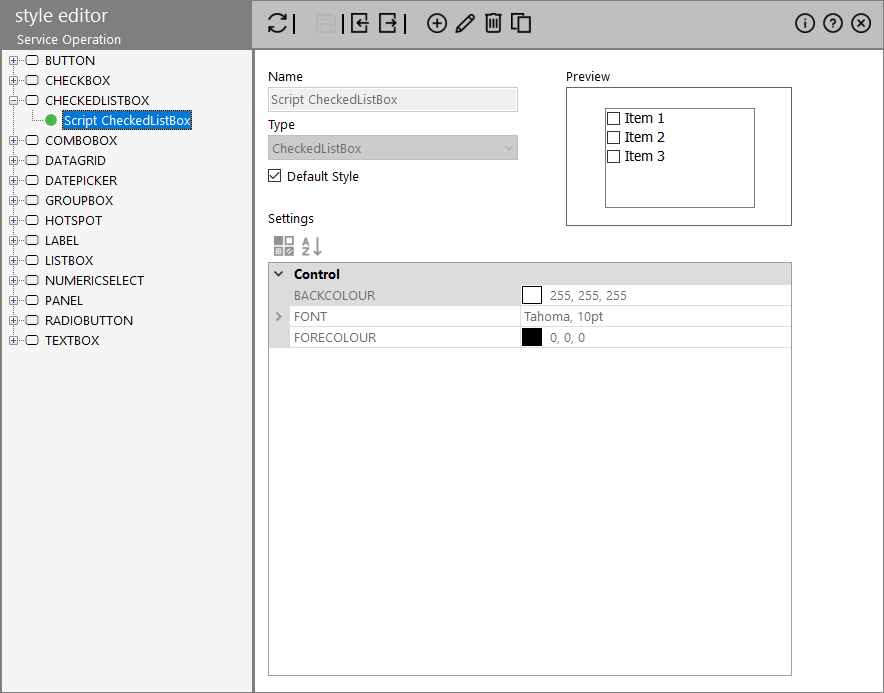
The screen will show a list of control types along the left hand side. Select a type to view its settings to the right hand side of the tab.
Styles list
Expanding a type in the list shows its currently defined styles.
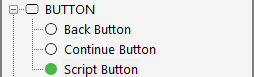
Each style has a dot next to it:
- A green dot indicates that this is the default style for the control type and will be assigned to new controls that are added to a screen
- An empty circle dot indicates any other styles existing for the control type
Actions
The following actions are available through the toolbar icons:
| Icon | Description | |
|---|---|---|
|
|
Adds a new style to the system by providing its settings. |
|
|
|
Edits the settings of the selected list item. | |
|
|
Deletes the selected style (with confirmation). |
|
|
|
This will copy the styles and allow you to provide a new name for the style. | |
|
|
Updates the style you are adding or editing. Warning: This does not save your style to the database. In order to commit your new style you need to click the Save |
|
|
|
Saves your changes to the system after you have used the Update |
|
|
|
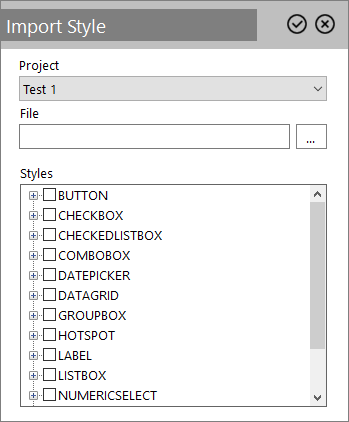
Styles can be imported from another project or from an export file. This icon opens a dialog box, allowing you to specify where you wish to import a style from: Project or File. Once you have selected a project, or imported a file, the list will update to show you all the available styles.
To select a single style, tick the checkbox next to its name. To import all the styles for a single control type tick the control type's checkbox instead. Click the
|
|
|
|
Allows you to export styles to a file by specifying the filename and path and clicking the Save button in the Windows dialog box. |
Style Settings
The following settings are available for each style:
- Name: The name of the style
-
Type (drop-down list): Select one of the available control types.
-
Settings: Upon selecting the 'Type' this list will be updated to show the properties that you can amend
 Sorting options
The settings can be sorted as follows:
Icon Description 
Sorts the settings by category 
Sorts the settings alphabetically - Default Style (checkbox): Makes this style the default style for the control type. If there is already a default style then it will have the flag cleared and it will be set on the new style.
- Preview: Shows an interactive preview of the control style.