Clients
Clients provide a way of grouping projects and are used throughout Infinity wherever this grouping is useful or necessary.
To access the Client Editor, select the following menu options:


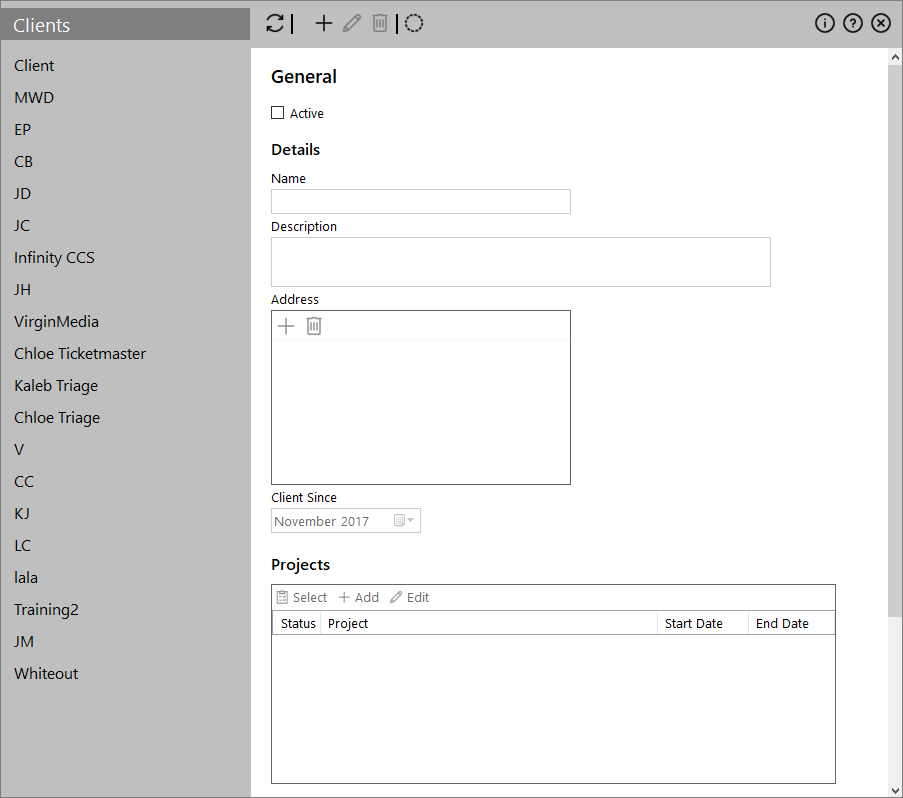
The Client editor will now appear on an editing tab. The left-hand side of the screen is a list of all the currently defined Clients and the right-hand side of the screen contains the editing panel.
Actions
The following actions are available through the toolbar:
| Icon | Description |
|---|---|
|
|
Add new Client by defining its parameters in Details and Projects. |
|
|
Edit the selected client. |
|
|
Removes the selected client (with confirmation). |
|
|
Commit your changes to the system. |
Details
- Active (checkbox): Checking or unchecking this determines whether or not this Client is displayed to users.
- Name: It should ideally be the name of the client in question
- Description: You can optionally give some extra information not necessarily present in the Name
-
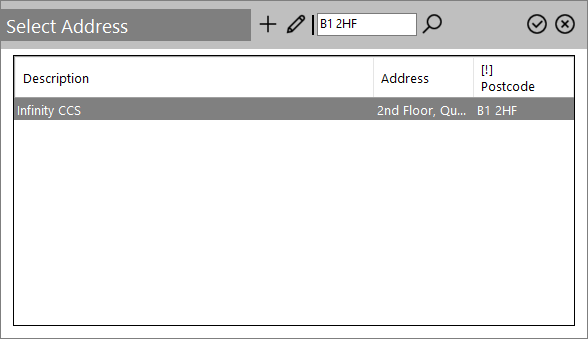
Address (text box): Addresses are stored in a central location in Infinity to avoid them being duplicated around the system. There are two buttons on the Address Picker toolbar:
Icon Description 
Opens a dialog box for searching an address.

Type a postcode in the search box and click the
 icon to see if the address already exists in the system. If it does, you can use it as it is by clicking the
  icon. Otherwise you can do one of the following:
Icon Description
Add a new address by providing the required details in the 'Add Address' pop-up window. Then click the
icon to confirm.

Edit an existing address before using it. Then click the
icon to confirm.
Clears the address box.
- Client Since: Records the date this company became a client.
-
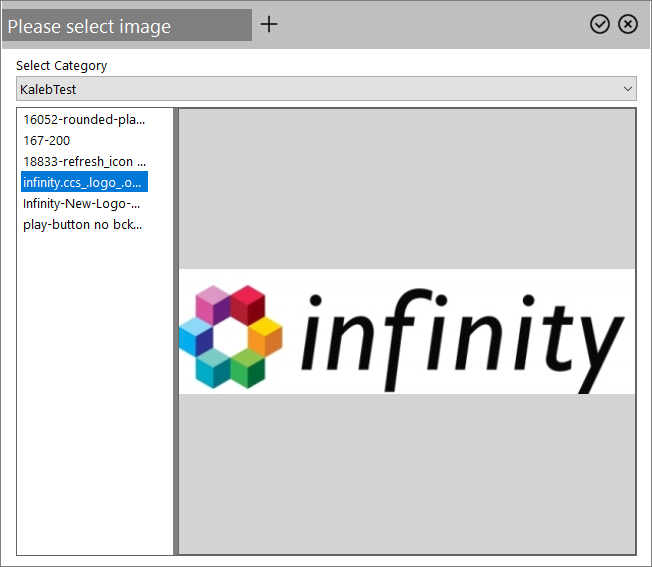
Image: To change the image associated with a Client, the Image Picker must be used. To do this, right-click the square area to the left of the Name and Address settings and a context menu will appear with two options on it:
 Change
This option activates the Image Picker (same as double-clicking on the image area ).

Use the "Select Category" drop-down list to choose an image category and this will result in the image list on the left being filled with a list of images from that category. Select an image from this list and a preview of it will appear in the preview area on the right. If this is the required image, click the
icon and return to the main Client Editor.If the image required cannot be found, then it is possible to add a new one. Images added with the Image Picker are added to a central Image Library and can be used elsewhere within Infinity.
To add a new image:
- Click the
 icon in the toolbar
 - Type a description and select an appropriate category (a new can be created if required)
- Click the blank image area to select an image from the local computer or network drive
- The selected image will now be previewed in the Image Preview window
- Click the icon to add the image to the image database
- Click the icon to select the newly added image
Note: At this point, if it is decided that this image will not be used for the client, the image will still exist within the Infinity Image Library. This is were it can be found and removed if necessary.
Remove
The image will immediately disappear to be replaced by a "No Image Selected" message.
- Click the

Projects
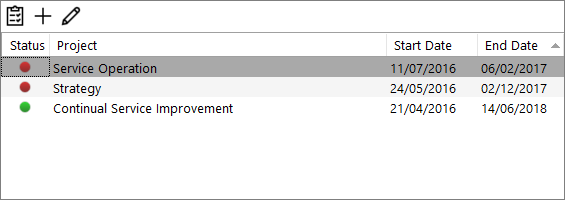
This area displays all of the Infinity Projects associated with this Client. Each associated Project will be listed with the Project Name, start and end date and a status indicator as follows:
| Colour | Meaning |
|---|---|
| Green | Project has not reached, and is not close to, its expiry date. |
| Amber | Project is due to expire within the next seven days. |
| Red | Project has expired is not available for selection by agents. |
This area allows you to execute the following actions:
| Icon | Description |
|---|---|
|
|
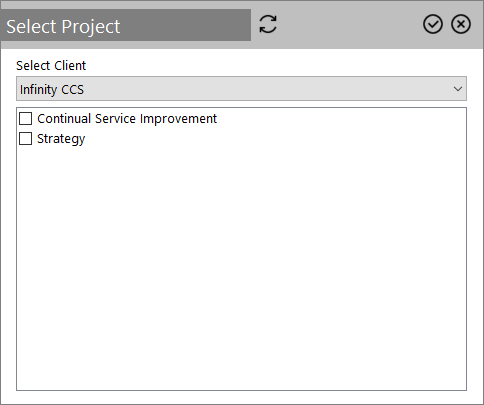
Add one or more existing projects to the client by selecting the Client, checking the checkboxes of the required project(s) and clicking the
|
|
|
Allows you to create a new project to add it to this client. |
|
|
Allows you to edit an existing before adding it to this client. |