Add New Project
Tabs
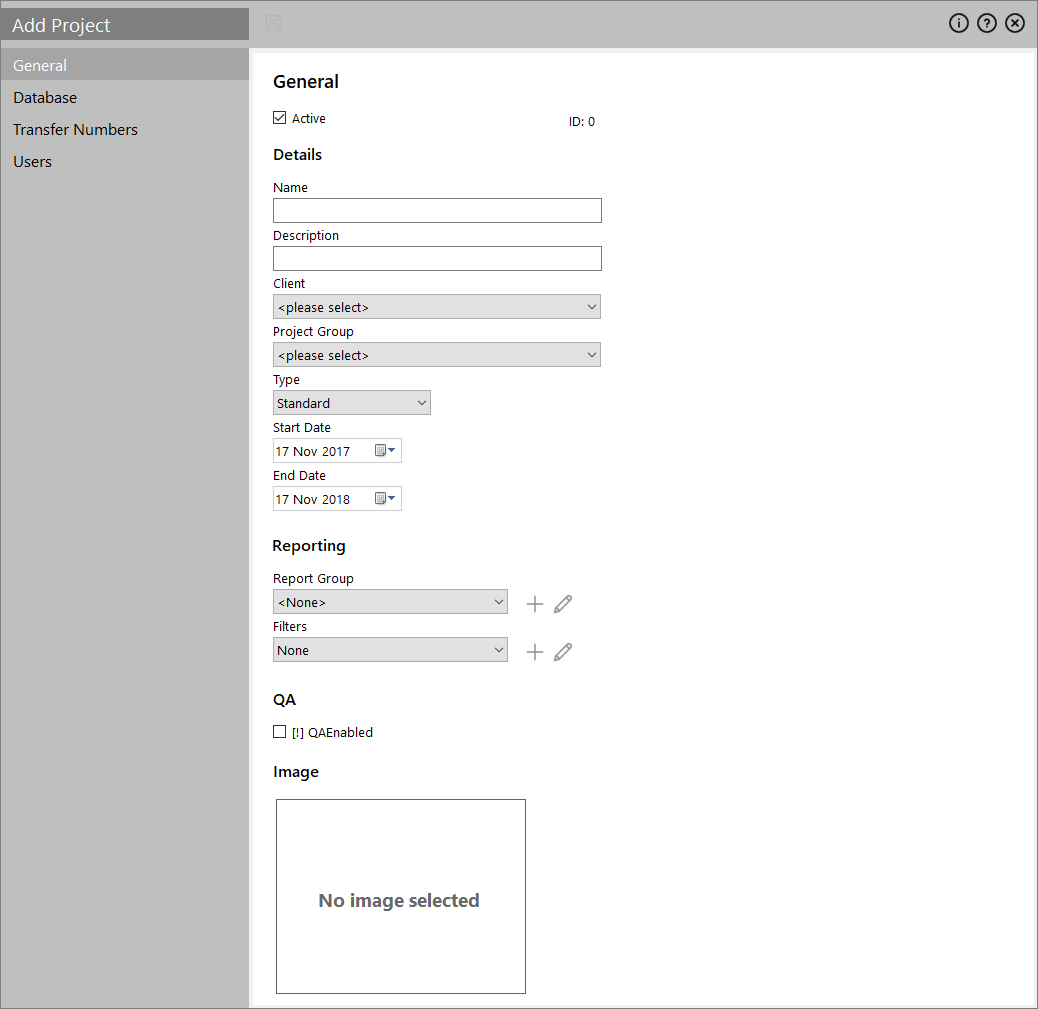
The following tabs are hosting the parameters for defining a new project to Infinity:
- Active (checkbox): Selected by default you have to de-select it in order to make the project inactive
Details
- Name: The short name of the project should be entered here. This name will identify the project around the system so make sure it's descriptive and concise.
- Description: You can provide more text here to provide further details about the project.
- Client (drop-down list): Select a client for assigning the new project to
- Project Group (drop-down list): Select a project group for assigning the new project to
- Type (drop-down list): Select on of the following:
- Standard: A standard Infinity project
- Custom: A custom project for linking to a pre-existing non-Infinity database (see Custom Projects)
- Timesheet: If you are using the timesheeting facility, there may be times when you wish to enter time against campaigns that are not Infinity-based. Therefore, you can setup projects merely for the purposes of capturing time against by selecting the Timesheet type. Timesheet projects will only appear in the timesheet system and will not appear as an option for your agents for call/task-handling purposes.
-
Start/End Date: Enter a date range that is within the project's validity period in order for the project to be available to agents for call/task-handling purposes.
Reporting
This is where reporting options for this project can be specified:
-
The Report Group allow you to specify up to six columns in your contact database tables by which to split some of the Infinity Reports by. This allows you to customise, to a certain extent, several reports to your specific needs.
Note: If you have some reporting fields set, then the data from the [pContacts]/[pContactsExtra] table fields are automatically duplicated into the corresponding His_SubCampaignX fields of the [rHistory_Detail] table.
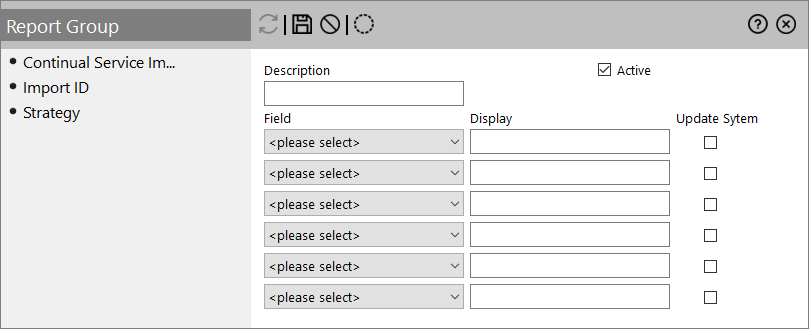
 Manage Report Groups
The following actions are available on the icons next to the Report Group drop-down list:
Icon Description 
Adds a new report group to the project.
- Description: A descriptive name for the group
- Field (drop-down list): Select the required column tables
- Display: A description for the selected field
- Updates System (checkbox): When checked then the following corresponding table fields are automatically updated:
- HisI_SubX on [rHistory_ISummary]
- UAR_SubX on[sUserActivityReporting]
- UAST_SubX on [sUserActivityState]
Click the
 icon when done.
Allows you to modify the report group. Once the 'Report Group' pop-up window is open, you can use the icon to make changes to the selected group or the  icon to remove it completely).
 -
When the first level filtering by task type, and the second level filtering by calls list proves insufficient for your needs, the Project Filters allows you to define up to six columns in your contact database, which can then be used for filtering the data assigned to the skills.
Manage Project Filters
The following actions are available on the icons next to the Project Filters drop-down list:
Icon Description
Adds a new project filter to the project.
- Description: A descriptive name for the filter
- Field (drop-down list): Select the required column tables
- Display: A description for the selected field
Click the
icon when done.
Allows you to modify the project filter. Once the 'Project Filter' pop-up window is open, you can use the
icon to make changes to the selected group or the icon to remove it completely).

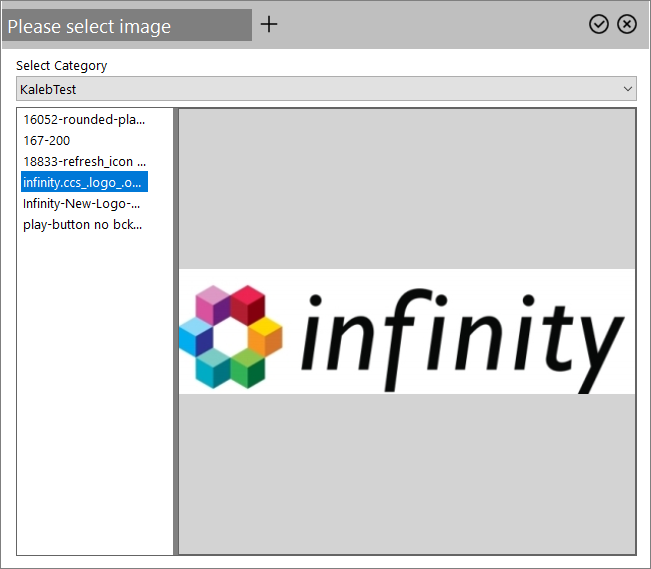
Image
-
<Image>: Double-clicking the "No image selected" box you can assign an image from the Infinity Image Library to the user.

Click the
 icon to add the image. The icon allows to remove an existing image.
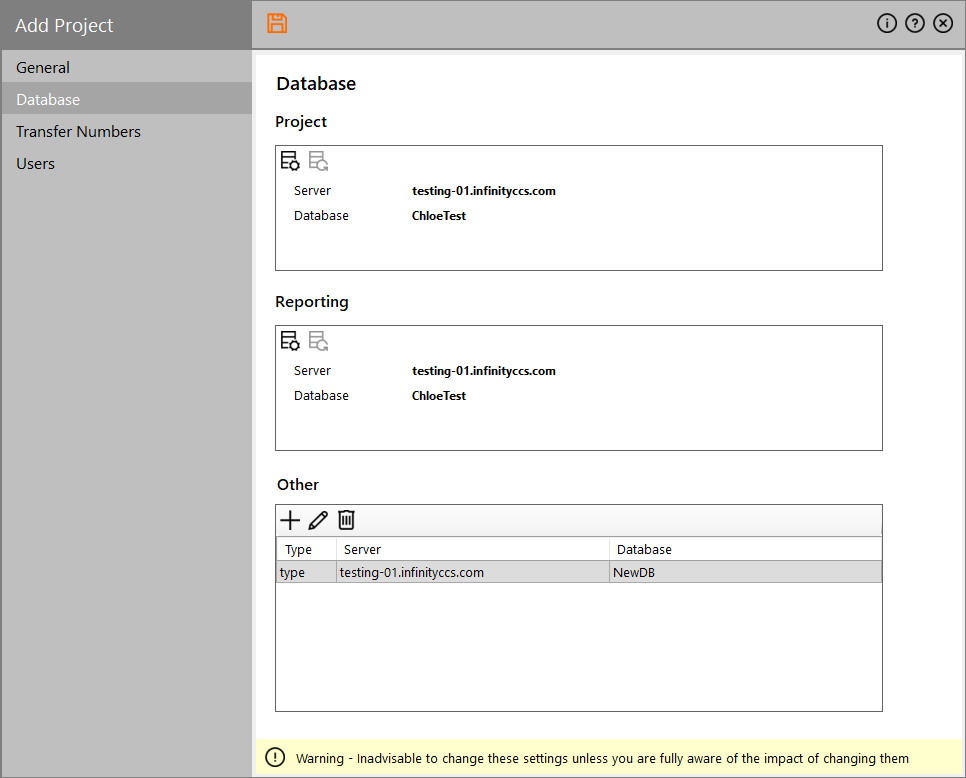
This is where the SQL database details for this project are defined.
Warning: This should ideally be done by a database administrator or equivalent.
The following actions are available:
| Icon | Action | Description |
|---|---|---|
|
|
Change Project/Reporting Database | Opens the 'Create Database' wizard for assigning a project or reporting database. |
|
|
Reindex Project/Reporting Database | Rebuilds one or more indexes for a table in the specified database. |
This wizard has the following steps:
This step allows you to enter the server details.
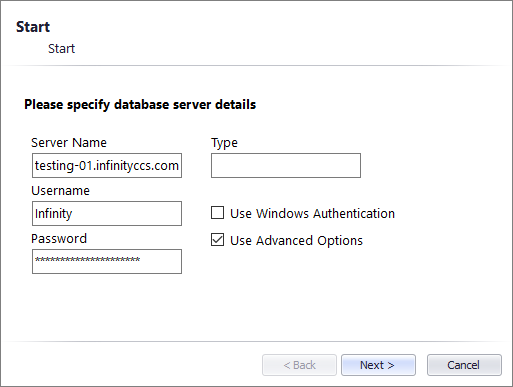
- Server Name: Type the name of the database server
- Type:
- Username: Type your username to the server
- Password: Type your password to the server
- Use Windows Authentication (checkbox): Check this to use Windows authentication instead of username and password
- Use Advanced Options (checkbox): Activates Collation options on the next step
Click the Next button to proceed.
In this step you can select to create a new database or use an existing one.
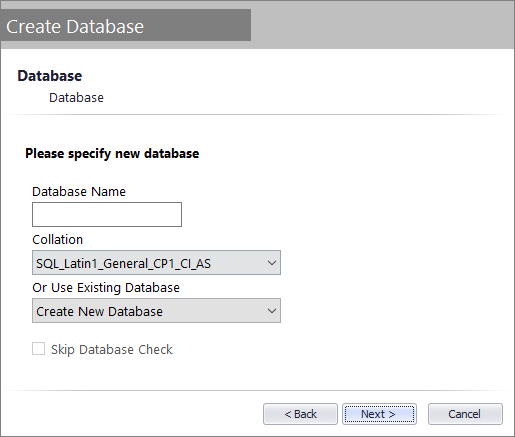
- Database Name: Type a name for the new database (disabled if an existing database is used)
-
Collation (drop-down list): Select a set of rules for comparing characters in a character set
Note: This option is only available if you have checked Use Advanced Options on the previous step.
- Or Use Existing Database (drop-down list): Select Create New Database for a new project.
- Skip Database Check (checkbox):
Click the Next button to proceed.
This final step informs you about the database creation (for a new one) or mapping (for an existing one).
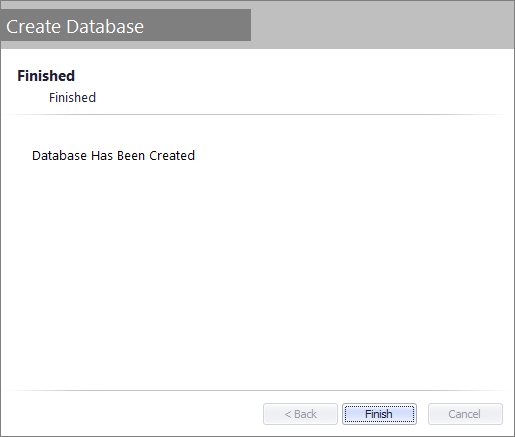
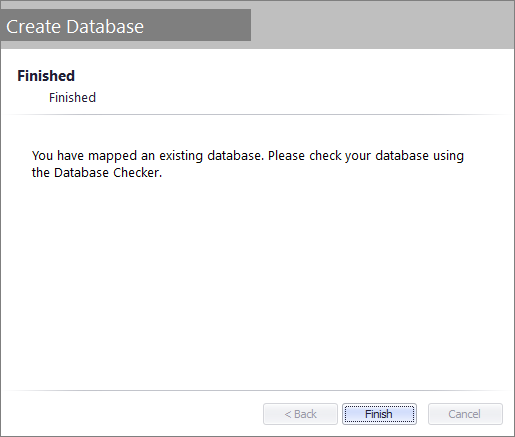
Click the Finish button to close the wizard.
This is where valid Transfer Numbers can be added or removed. The numbers specified will appear in a drop-down list on the agent screen when they are calling on this project.
![]()
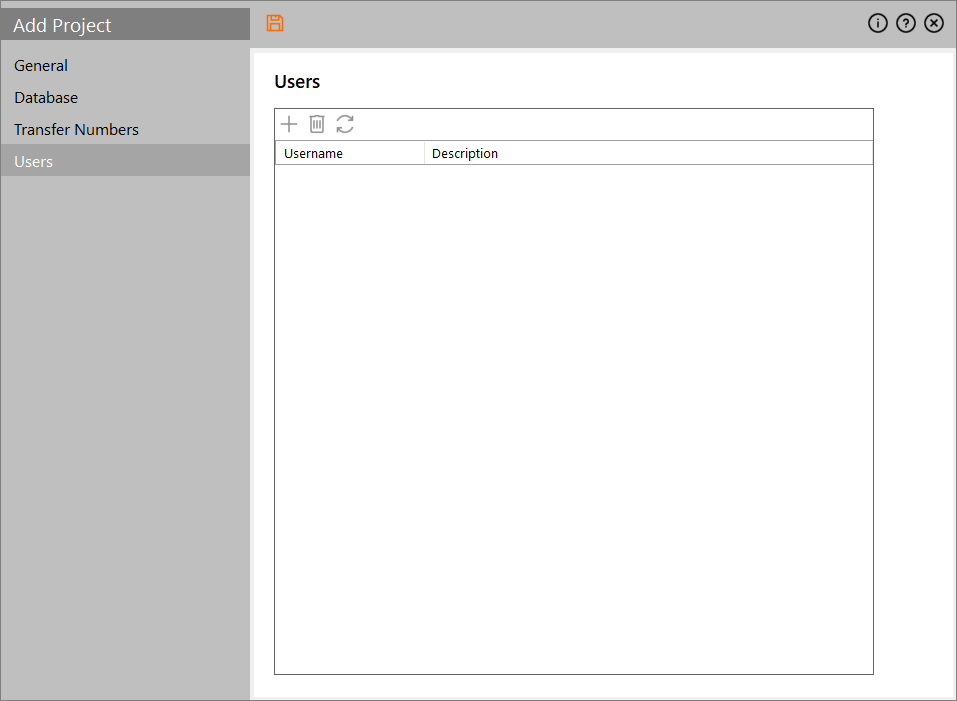
This is where the Infinity users associated with this project can be added or removed. Specifying a user here will allow that user (other permissions permitting) to view/edit various aspects of the project setup.
Upon finishing your input click the ![]() icon on the top to add the new project to the system.
icon on the top to add the new project to the system.