Report Scheduling
Using the scheduling features, reports and folders can be scheduled for automatic execution. When a folder is scheduled, the settings are applied to all contained reports.
A standard report schedule is configured in various steps.
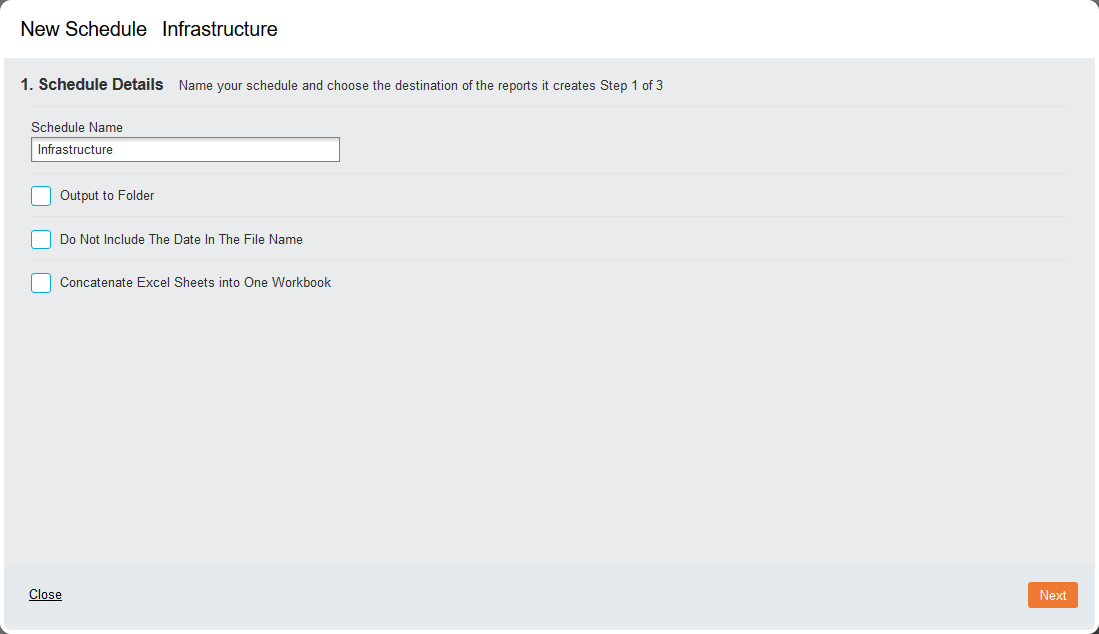
Name your schedule and choose the destination of the reports it creates:
- Schedule Name: Type a name to label the schedule
- Output to Folder (checkbox): Enable this should you want to specify an output folder for scheduling an export to a folder on disk.
- Output Folder: Click the ellipsis (…) to select the output folder through the filesystem.
- Format: Select the file format between CSV, Excel, HTML, Image or PDF.
- Run For Each User: Enable this option to create a folder for each user specified in the final step (the following User drop-down list will be disabled).
- User: This drop-down list allows the report to be run as specific users (if Run For Each User above is unchecked). This is important when realms and groups are used, as the report will be executed using any rules associated with the selected user account.
- Do Not Include The Date In The File Name (checkbox): Select this to stop the date appearing in the filename.
- Concatenate Excel Sheets into One Workbook (checkbox): Select this to combine the contents of multiple Excel Sheets.
-
This report has alerts: This option will be visible if Conditional Formatting is present and the Alert option is enabled. Please refer to the Crosstabs for more information.
Click Next to proceed.
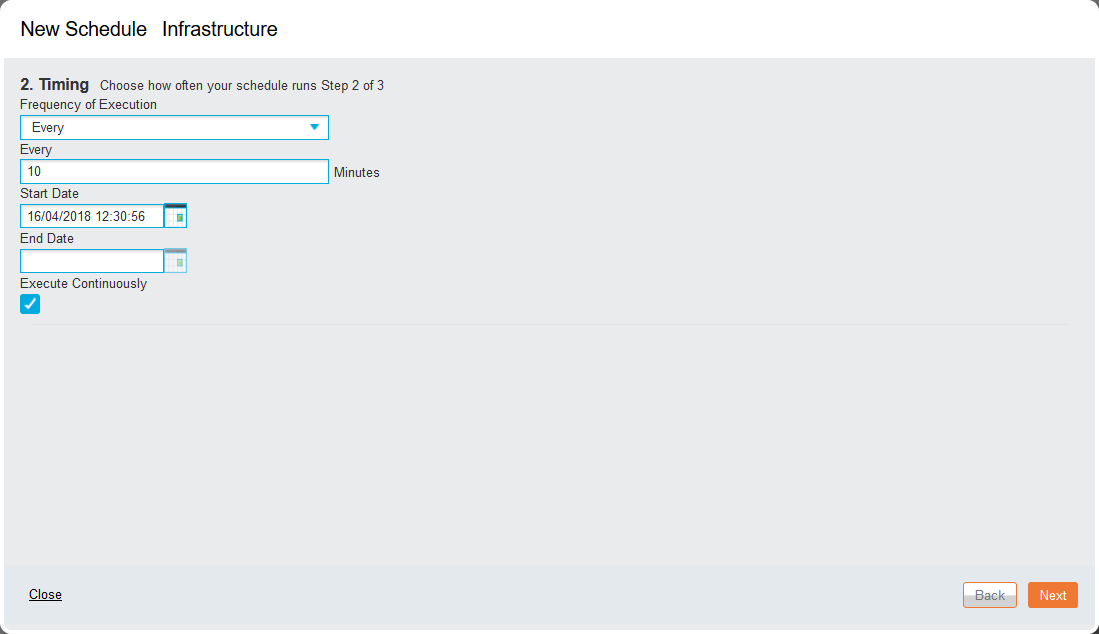
This step allows the complete configuration of report frequency:
- Frequency of Execution (drop-down list): Specify when the report will be run.
- Immediately: Once, as soon as the schedule has been set
- One Off: Once at the specified Start Date option at the bottom of the screen
- Hourly/ Daily/ Weekly/ Monthly: Additional field(s) appear below for setting the time specification that the report will be run, from the Start Date.
- Monthly Working Days: Additional fields appear below for setting the number of Days that the schedule will run, along with the time the schedule will execute in Hours and Minutes. The working days are configured by the system administrator.
- Dependant: Triggered after a specific index or report schedule takes place. Select individual dependencies from the 'Dependant Index Schedules' and 'Dependant Report Schedules' drop-down lists, or click All to add every created schedule. Remove individual selections using the relevant X icon, or click None to remove all selected schedules.
- Every/ Every Hour/ Every Day/ Every Week/ Every Month/ Every Week Day: An additional field appears below for entering the time specification that the report will be run, from the Start Date.
Multiple Week Days: An additional drop-down list appears below with the days of the week as checkboxes, allowing multiple days to be selected.
- First/ Last Day of Month: Specifies that the report will run on the first or last day of every month until stopped.
- First/ Last Week Day of Month: An additional drop-down list appears below that allows the specification of a particular day.
-
Start/ End Date: Hold the date and time when the report will be run for the first time and when the schedule will terminate. These options apply to the selected frequency option.
- Execute Continuously (checkbox): If this is enabled, the schedule will continue to run until it is manually stopped or removed.
Click Next to proceed.
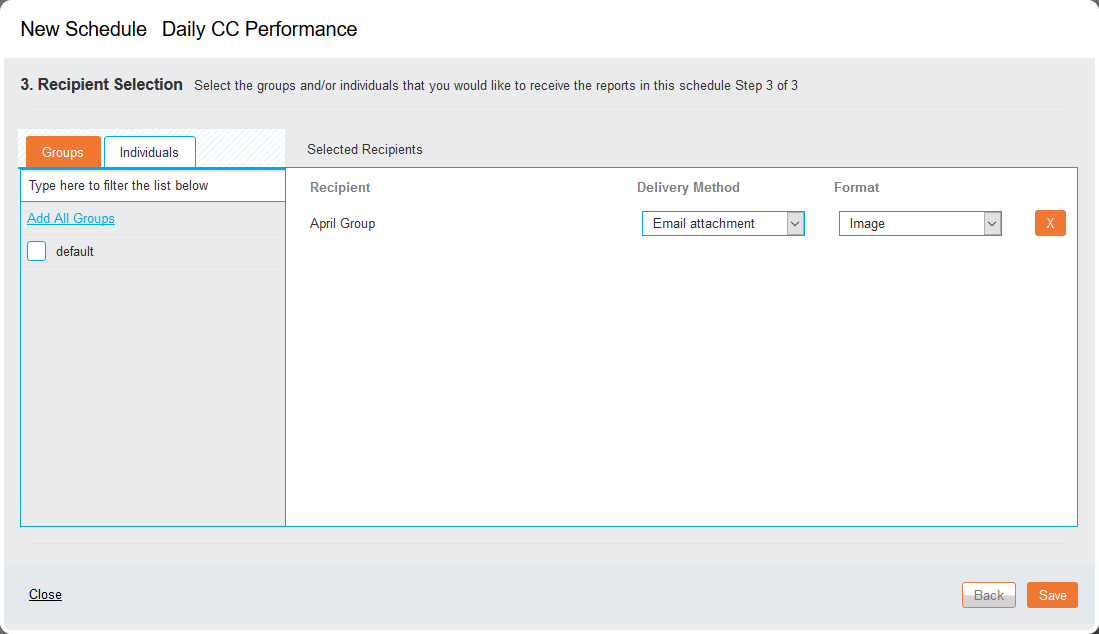
This step allows the configuration of how and where the report will be distributed. If an Output Folder was selected in the Step 1, specifying recipients is not required.
Select the Groups or Individuals the report will be distributed to by navigating to the relevant tab and checking the group or user from the list. You can filter the list by using the search bar under the relevant tab.
The 'Selected Recipients' panel to the right is populated as selections are made. Every recipient of the scheduled report, either as an individual or as part of a group, can be configured separately
- Delivery Method: It can be one of the following:
- Email Attachment: Delivers the report as an attachment in the specified format.
- Report Viewer Link: Sends an Analytics Viewer link that can be accessed by 'view only' users.
- File: This option is auto-selected if the "Run For Each User" option was enabled in Step 1. It creates a folder for each user where a copy of the scheduled report is stored.
If an Alert is available, click Next to proceed to the next step, otherwise click Save to complete schedule building. The schedule will now be active and the Schedule icon will be emboldened in the 'Saved Reports' window.
Note: This step is available when an alert is set on Crosstabs> Totals> Conditional Formatting tab.
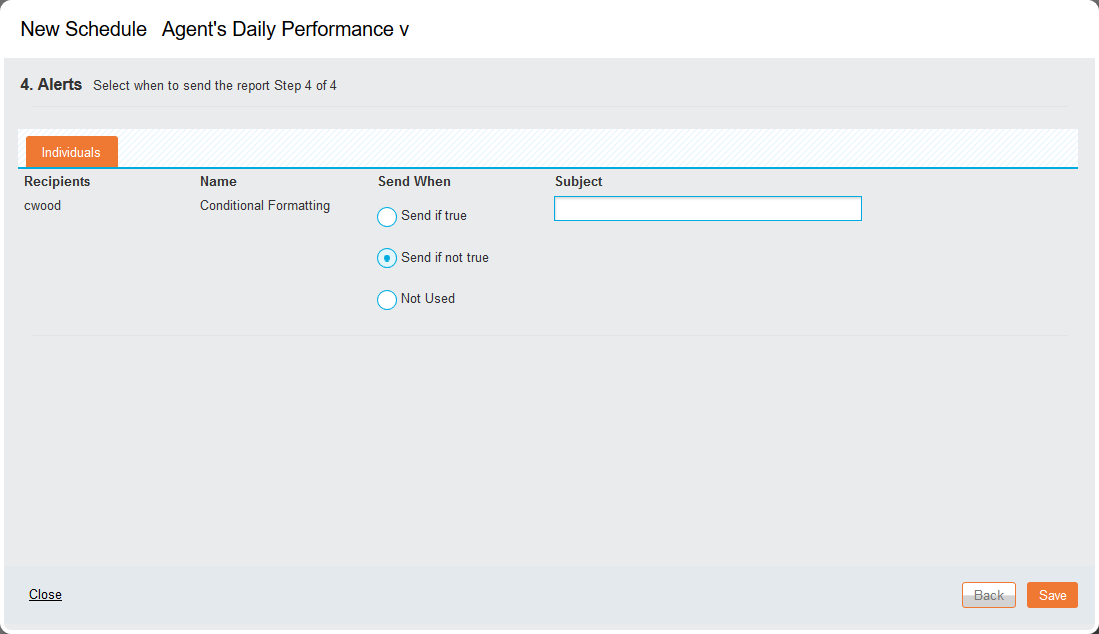
This step allows specifying when the alert will be sent and under what circumstances. You can define the following parameters for each recipient set in Step 3:
- Send When: Select one of the following instances:
- Send if true: Report is sent only if the alert is triggered
- Send if not true: Report is sent only if the alert is not triggered
- Not Used: Report is exported using the previous schedule settings regardless of whether the alert is triggered
- Name: Specifies the name given to the alert during the Conditional Formatting setup. Multiple alerts can be set for a single report, with different users receiving notifications when different conditions are triggered.
Click Save to complete schedule building. The schedule will now be active and the Schedule icon will be emboldened in the 'Saved Reports' window.
If the report contains saved filters, the second step will contain options to configure the values used. Select the Filter Group from the first drop-down list, and select the relevant filter values from the drop-down list below. Filters are applied at run time, and will account for any changes following an Index refresh.
At any time, you can click Back to return to the previous step or Close to abort the schedule process.