In this section you can edit various settings which apply to your script such as Name, Description, Font, Type, Mode, Screen size and others.
The settings are grouped in various tabs:
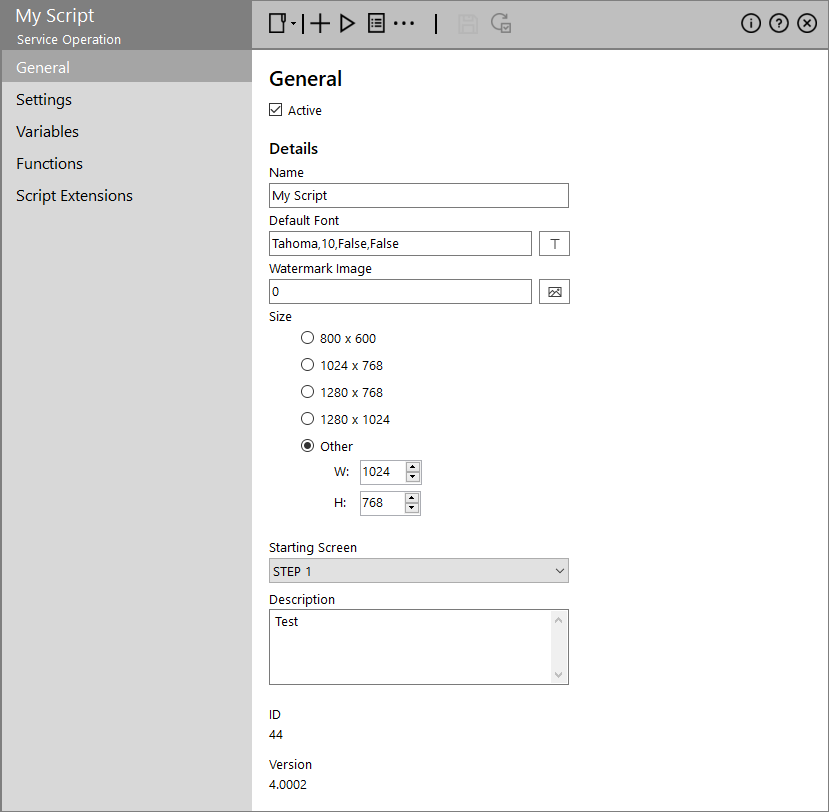
- Active: If checked then the script will appear in the main Workflow Designer view. Otherwise it will be displayed only if you check the Show Inactive option in the Options
 icon of the Workflow Designer's toolbar.
 - Name: The name of the script (mandatory)
- Default Font: The font that will be used when new controls are added to a screen
- Watermark Image: Specify an image that will be shown on all normal screens. Click the 'Add image'
 icon to access the Image Selector dialog box.
 -
Size: Using the predefined options or specify the dimensions to determine the default size of the generated Screens.
Note: This is the start size used on creation; each screen can be individually set.
-
Starting Screen (drop-down list): Select the first screen of the script (mandatory)
Important: For a new script the list is empty. You need to navigate to the Script Features screen and define a screen, then return back to the Properties tab and select it.
- Description: Allows you to provide a description of the screen, which will be output in any PDF/RTF document you generate of the script
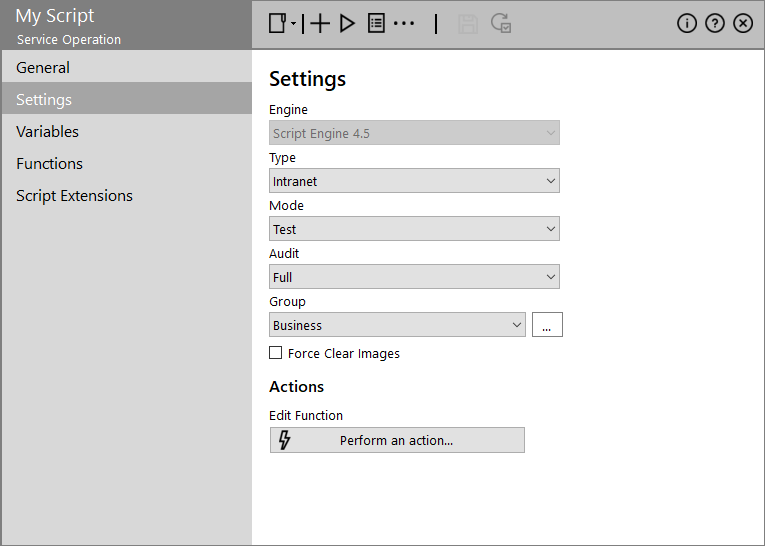
- Engine: This is only enabled when editing a script that was created in an earlier version of Infinity
- Type (drop-down list): The type of script:
- Calling: A normal agent script
- Intranet: A script of this type will appear under the 'Project> Scripts> Run intranet' menu of the Console Interface for direct execution.
- BackOffice: A script of this type will appear under the 'Project> Scripts> Run backoffice' menu of the Console Interface for direct execution.
- Mode (drop-down list): The script mode:
- Build (auditing is disabled)
- Test (auditing is enabled)
- Live (auditing is enabled)
- Audit (drop-down list): The level of auditing being used for the script (will not be active when the script is in Build mode):
- None: No auditing performed
- Basic: A simple record will be kept of who and when changes were made
- Full: A full snapshot of the screen and functions will be taken to allow rollback to previous versions
- Comment: A comment is required upon saving the script
- Basic+Comment: Same as basic and a comment is required upon saving the script
- Full+Content: Same as full and a comment is required upon saving the script
-
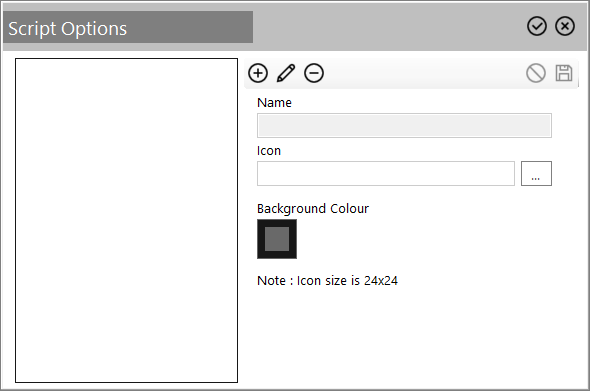
Group (drop-down list): This allows you to assign the script to a script group by selecting it in the Group drop-down list. Click the ellipsis (...) icon to manage the groups through a pop-up window.

The following actions are available:
Icon Description 
Add a new script group by defining its Name, Icon and Background Colour. 
Edit the selected script group. 
Removes the selected script group.

Commit your changes to the system.
-
Force Clear Images (checkbox): When checked it forces new images to be downloaded instead of using the cached ones.
If the system setting CACHEDATA is active (CACHEAGE and CACHELOCATION are also used) then the scripts, and any images used, will be stored to the local machine. This speeds up the initial load as the script data is loaded from the PC instead if the server before it is cached in memory.
Note: If you have enabled caching for the Script engine, a local version of the script will be used along with any cached images. If you make amends to the script the Revision number will increase and will indicate to Script engine it needs to download the new version. However, locally cached images will still be used.
- Actions : Clicking the Perform an action... button opens the Function Builder for building script functions to be triggered by Supported Events.
Here you can define variables that can be used throughout the script. Variables that are defined in this section will be available in the Function Builder as dragable controls.
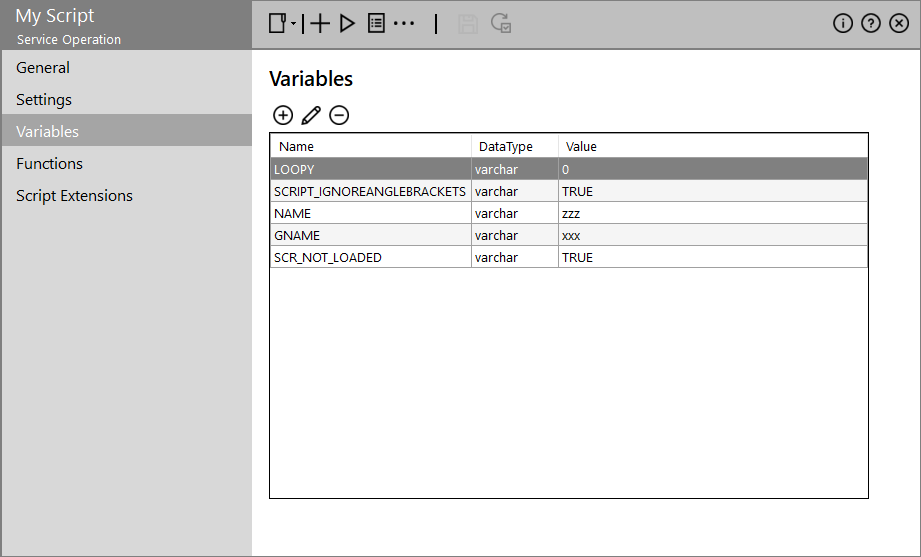
The following actions are available through the toolbar:
| Icon | Description |
|---|---|
|
|
Add a new variable with a Name a Data Type and a Default Value and click the
|
|
|
Edit the selected variable. |
|
|
Removes the selected variable. Warning: No confirmation dialog is displayed. Deleting a variable will not stop the script from working, as any variable the script encounters that is does not already know about will be created automatically - it will just remove the Variable from the selection of controls and variables shown in Function Builder. |

Here you can define standard functions that can be called from any screen.
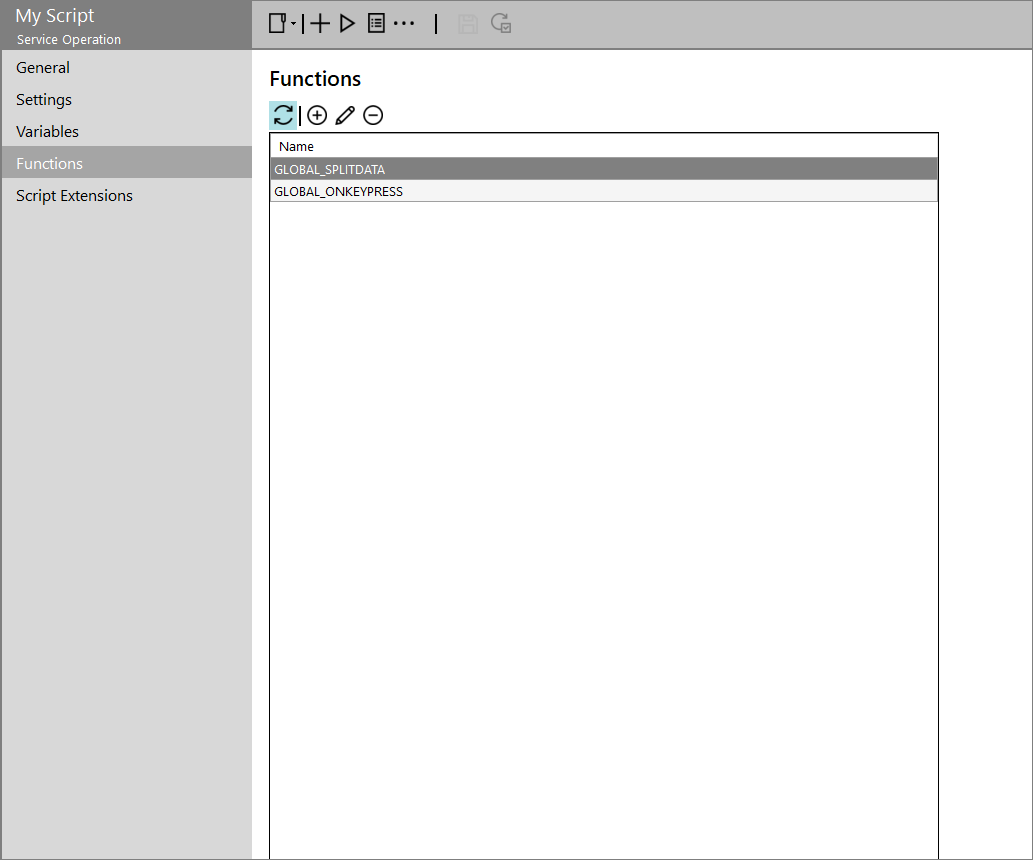
The following actions are available through the toolbar:
| Icon | Description |
|---|---|
|
|
Updates the list of functions |
|
|
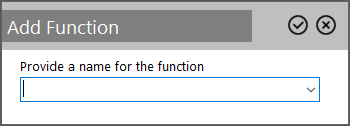
Add a new function by typing its name with the prefix "GLOBAL_" in the pop-up window.
Upon clicking the The textbox in the 'Add Function' pop-up window acts as a drop-down list as well. Expanding this list allows you to select one of the following, event based functions: This function runs when using the browser tab (Chrome or IE) and the page navigation starts or completes. It can be used to update the script based on the new URL or elements on the page.
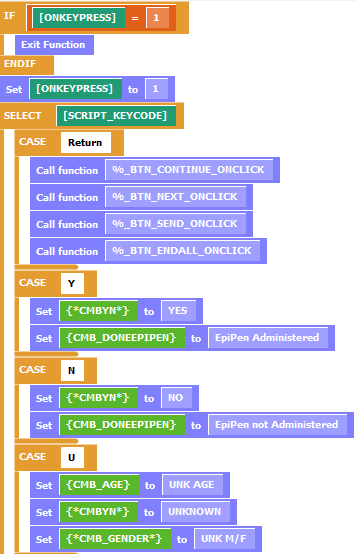
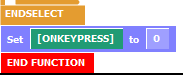
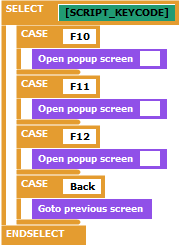
For more information see Wiring up Browser Tab Events in a Script. This function runs after a pEmail record is created via the contact manager send email form. The following script variables are set with values based on the email created: EMAIL_ID, EMAIL_FROM, EMAIL_TO and EMAIL_SUBJECT. This is the function that defines what happens when individual keys are pressed throughout the Infinity algorithms.
Example: To define the keys that you want handled by the script you need to set variable[SCRIPT_CAPTUReKeYPReSSFOR] to a comma separated list of keys, i.e.
This would trigger the global function on the keys BackSpace, F10, F11 or F12 being pressed. When a key press in handled by infinity the variable [SCRIPT_KeYCODe] will hold details of the key pressed. This can then be used in the GLOBAL_ONKeYPReSS function to perform an action.
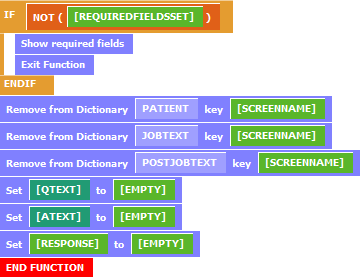
This function is called after pFulfilment and pDocument records are created via the contact manager send letter form. The following variables are set based on the letter created: LETTER_ID and DOCUMENT_ID. This function will be called at the end of each screen (after the normal SCREEN_END function) providing a way to run a standard function at the end of every screen.
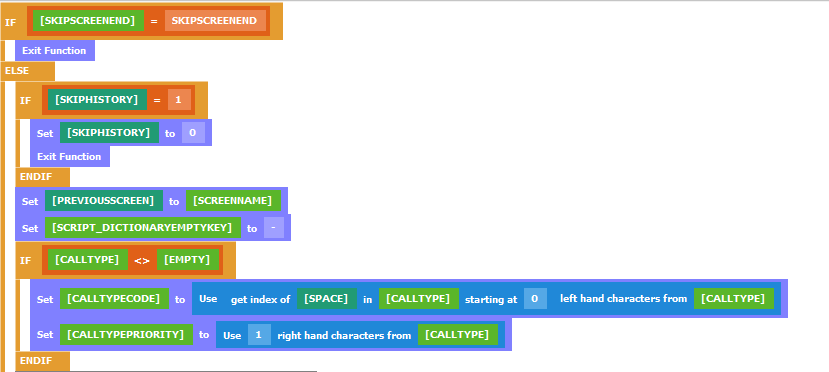
This function runs at the start of every screen to clear the fields used in the history tracker and the message string. It helps to keep the data clean.
This function runs when contact manager is informed that the CTI status has changed. The variables CTISTATUS and CTISUBSTATUS are set based on the letter created. This function runs when a script finishes, that is after an outcome has been selected and saved and just before the script is closed. |
|
|
Edit the selected function. |
|
|
Removes the selected function. Warning: No confirmation dialog is displayed. |


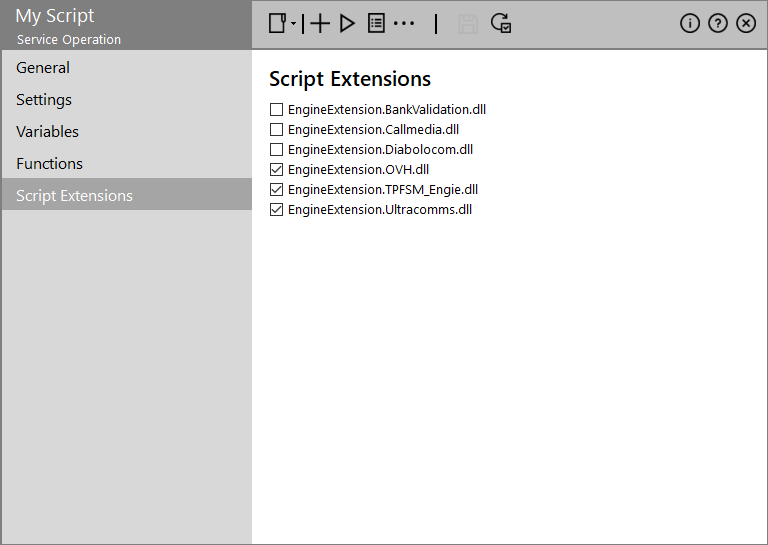
These can be used to extend the capabilities of the script via the use of an external DLL whilst providing a standard Function Builder command block the designer can use within the script.
The Engine Extension Dlls are located in the EXT folder under the main Infinity.Console application folder. On start-up, Script Designer checks this folder to see if there are any valid extensions. Enable the checkbox(es) for the extension(s) to import them
You will then be able to indicate that you wish to use an extension in the script by selecting it in this section.
To save your settings, click the Update ![]() icon and then
icon and then ![]() on the toolbar.
on the toolbar.