Manage Users
Everybody that wishes to use Infinity must log-in with a valid Infinity User account. This account holds details about the user including their access level and password. It is also possible to add the user to various skills and projects as well adding and removing user-specific permissions as required.
Accessing the users' functions can be done through the following menu options:


Clicking the top item of the Users submenu opens the User Search-and-Select screen.
![]()
The left panel allows you to select one of the following criteria for searching the user accounts:
- User Logon Id
- Name (First Name, Surname)
- Access Level
After typing or selecting the appropriate search values click the glass ![]() toolbar icon to display the results on the Results panel on the right.
toolbar icon to display the results on the Results panel on the right.
'Results' panel: Shows the list of users matching your search criteria.
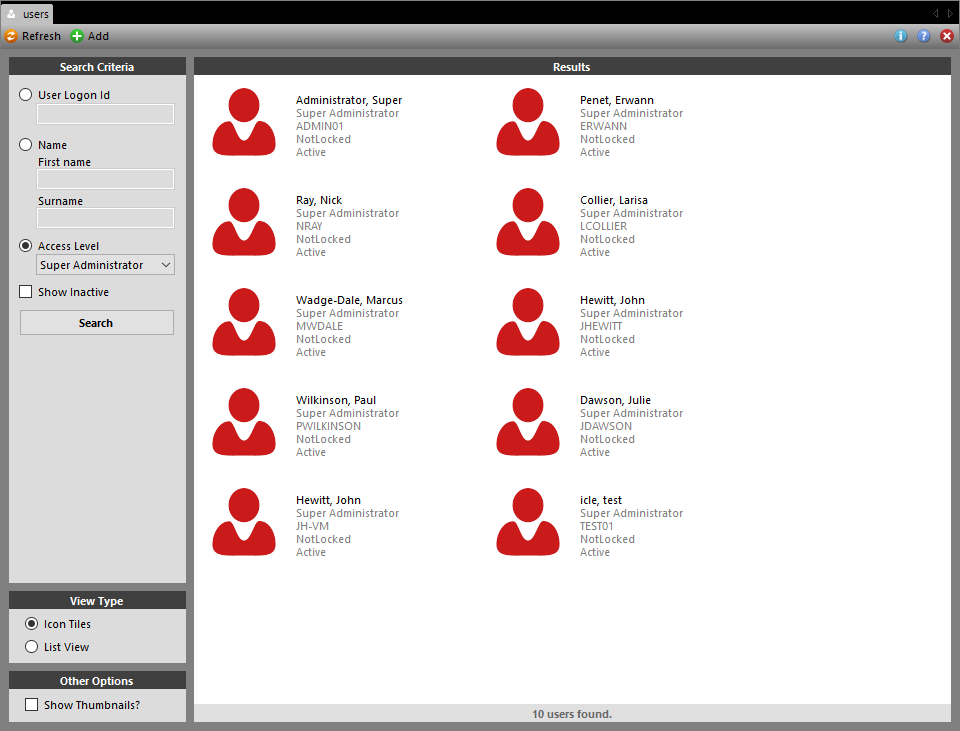
Double-clicking a user's icon in the results opens the user details. To access this screen you can also directly select that user in the users submenu.
Toolbar Actions
The following actions are available through the toolbar:
| Icon | Action |
|---|---|
|
|
Updates the user results. |
|
|
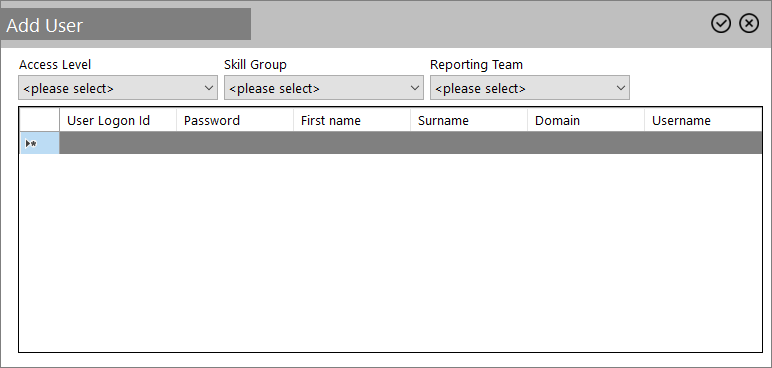
Opens a drop-down list for adding users:
|
|
|
Selecting this displays the inactive users in the list. |
|
|
Configure the view type for the results to Icon Tiles or List View. |
 icon will appear on the let of the user's row. Hover the mouse over the icon to view more details about the error.
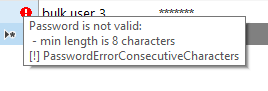
Results panel Actions
The following actions are available through the results panel:
| Icon | Action |
|---|---|
|
|
Double-click a user (or right-click and 'Open') to edit his information. |
|
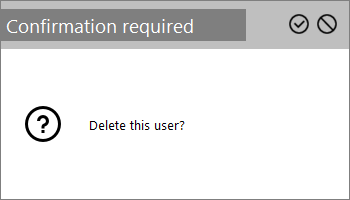
Right-click a user on the 'Results' panel and select Delete in the context menu. Then click the
|