Add/Edit User

Tabs
To add or edit a new Infinity user, the following information has to be provided to the available tabs. At any time, click the ![]() toolbar icon to save your changes.
toolbar icon to save your changes.
Details
- User Logon Id: The username of the new user. It cannot be changed afterwards.
-
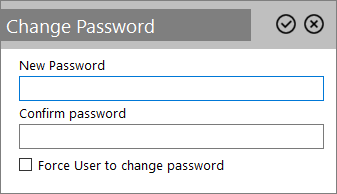
Password: Click the ellipsis ... icon to define a new password for the user.

- Force User to change the password (checkbox): When checked the new user will have to change his password upon the first login.
- First Name/ Initial/ Surname: The name details for the new user
- Email: The email address of the user
- Active (checkbox): When checked (default) the user is active
Access
- Access Level: Select the base level of permissions the new user will have to the modules.
- Skill Group: Select the group of skills the new user will be able to see
- Reporting Team: Select the way the new user’s information will appear in reports
LDAP
If Infinity is LDAP integrated then add here the mapping to the user’s LDAP Domain and Username.
Image
Clicking the ![]() icon on the bottom of 'General' tab you can assign an image from the Infinity Image Library to the user.
icon on the bottom of 'General' tab you can assign an image from the Infinity Image Library to the user.
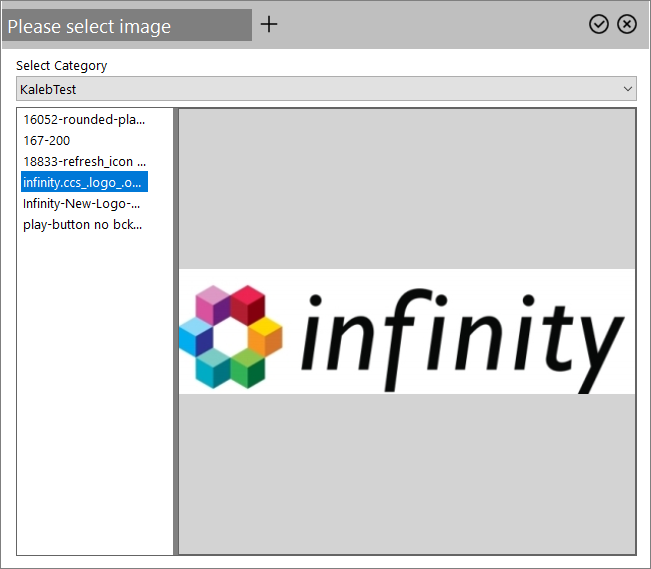
Click the ![]() icon to add the image. The
icon to add the image. The ![]() icon allows to remove an existing image.
icon allows to remove an existing image.
The user can be added or removed from Infinity Skills. For each skill, its Name, Project and Mode (Inbound or Oubound) are displayed in the list.
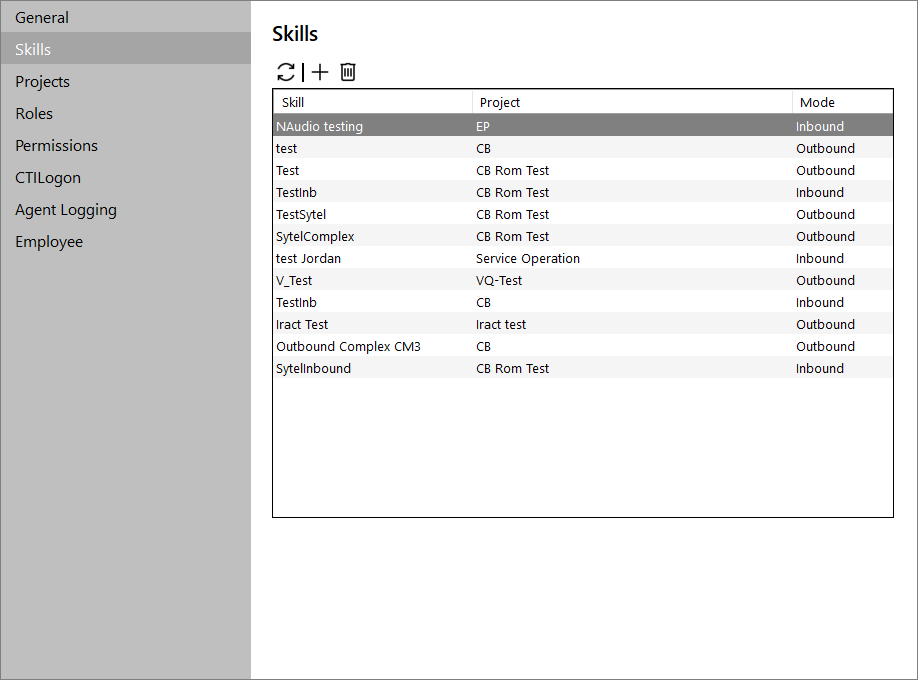
The following actions are available through the tab's toolbar:
| Icon | Description |
|---|---|
|
|
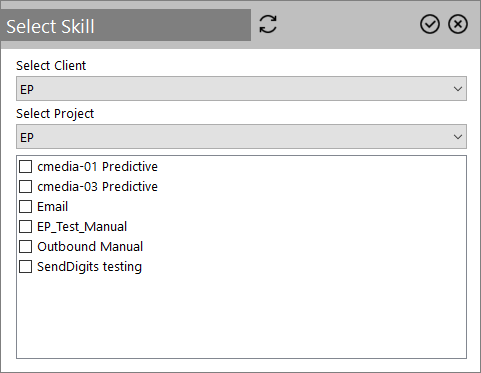
To add new skill(s) select Client and Project, check the checkboxes of the required skill(s) and click the
|
|
|
Removes the selected skill from the user (with confirmation). |
|
|
Refreshes the skills list. |
The user can be added or removed from Infinity Projects.
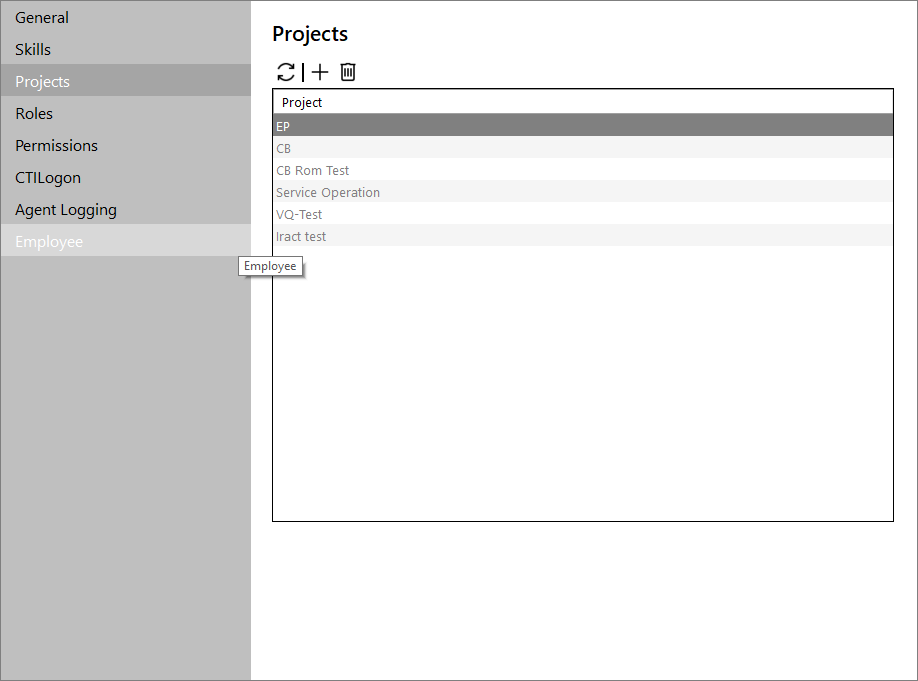
The following actions are available through the tab's toolbar:
| Icon | Description |
|---|---|
|
|
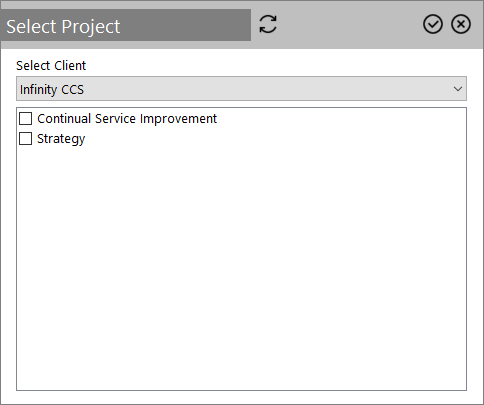
To add new project(s) select the Client, check the checkboxes of the required project(s) and click the
|
|
|
Removes the selected project from the user (with confirmation). |
|
|
Refreshes the projects list. |
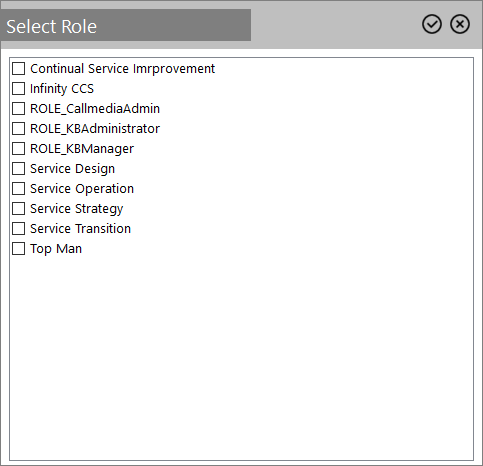
The user can be added or removed from Infinity Roles.

The following actions are available through the tab's toolbar:
| Icon | Description |
|---|---|
|
|
To add new role(s) select one or more of their checkboxes and click the
|
|
|
Removes the selected role from the user (with confirmation). |
|
|
Refreshes the roles list. |
The user can have extra Permissions added or removed.
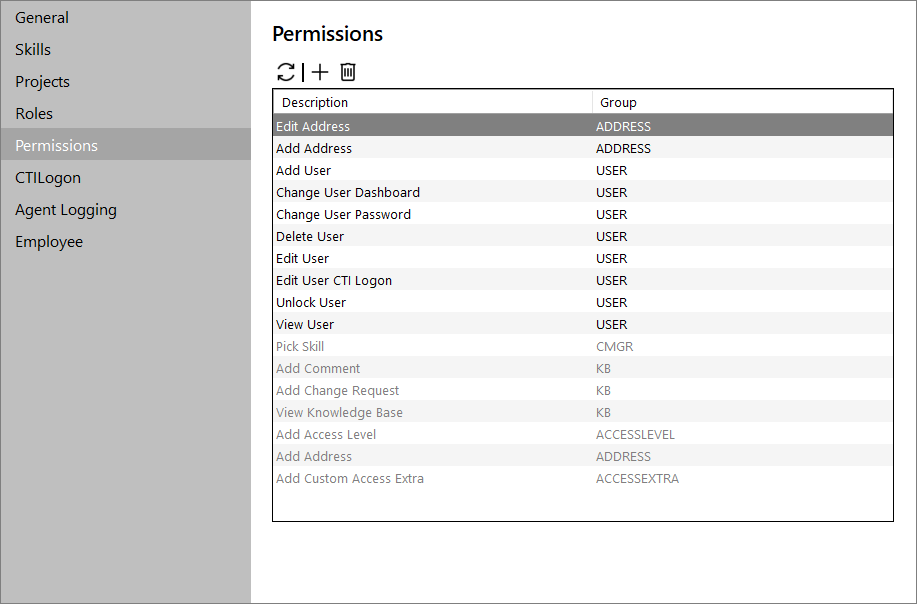
The following actions are available through the tab's toolbar:
| Icon | Description |
|---|---|
|
|
To add new permission(s) select one or more of their checkboxes and click the
|
|
|
Removes the selected permission from the user (with confirmation). |
|
|
Refreshes the permissions list. |

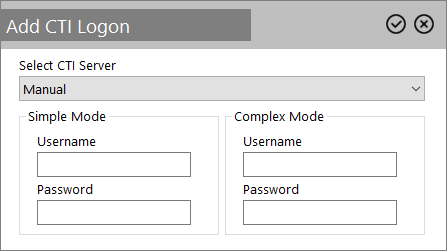
The auto-logon details for CTI servers can be defined.

The following actions are available through the tab's toolbar:
| Icon | Description |
|---|---|
|
|
To add a new CTI Logon select a CTI Server on the drop-down list and fill in the credentials for the required CTI modes.
Click the |
|
|
You can modify the details of a CTI Logon |
|
|
Removes the selected CTI Logon (with confirmation). |
|
|
Navigates you to the Add/Edit Callmedia User screen. Note: This icon is active as long as an item in the list is configured for Callmedia. |
|
|
Refreshes the CTI Logons list. |
Miscellaneous options relating to this user can be defined here.

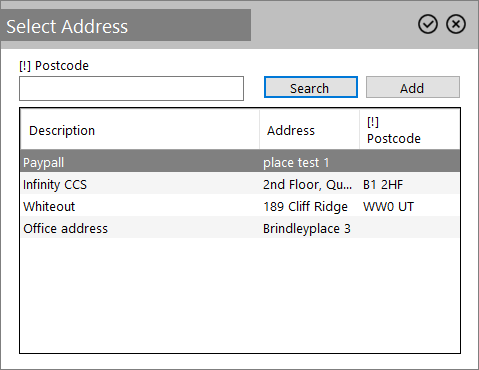
Although multiple addresses can be defined per user, only the default address is shown in the text box. The following actions are available through the toolbar icons:
| Icon | Description |
|---|---|
|
|
Opens the 'Select Address' pop-up window for managing the user addresses. First click the Search button to display below the available addresses. Select one of them and click the
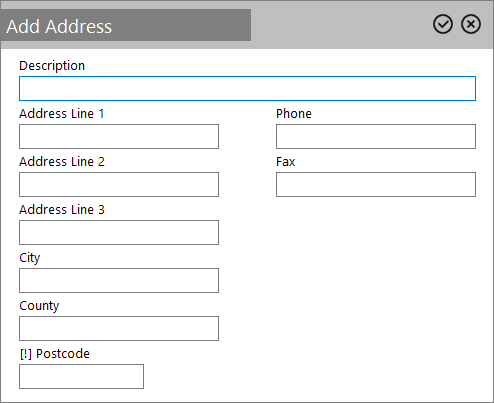
To add a new address, click the Add button and provide the required details in the new 'Add Address' pop-up window. Then click the
|
|
|
Modify the selected address details. |
|
|
Removes the default address from the user. |
- Employer:
- Employer Level:
- Location:
- Position:
- Start Date:
- End Date:
- Time Profile:
- Payroll Code:
- Contracted Hours:
- Cost:
- Overtime:
Actions
The following actions are available through the toolbar on the top:
| Icon | Description |
|---|---|
|
|
Save your user changes to the system. |
|
|
Removes the current user from the system (with confirmation). |
|
|
Allows you to unlock a user that has been locked after too many failed login attempts. |