Manage Reports
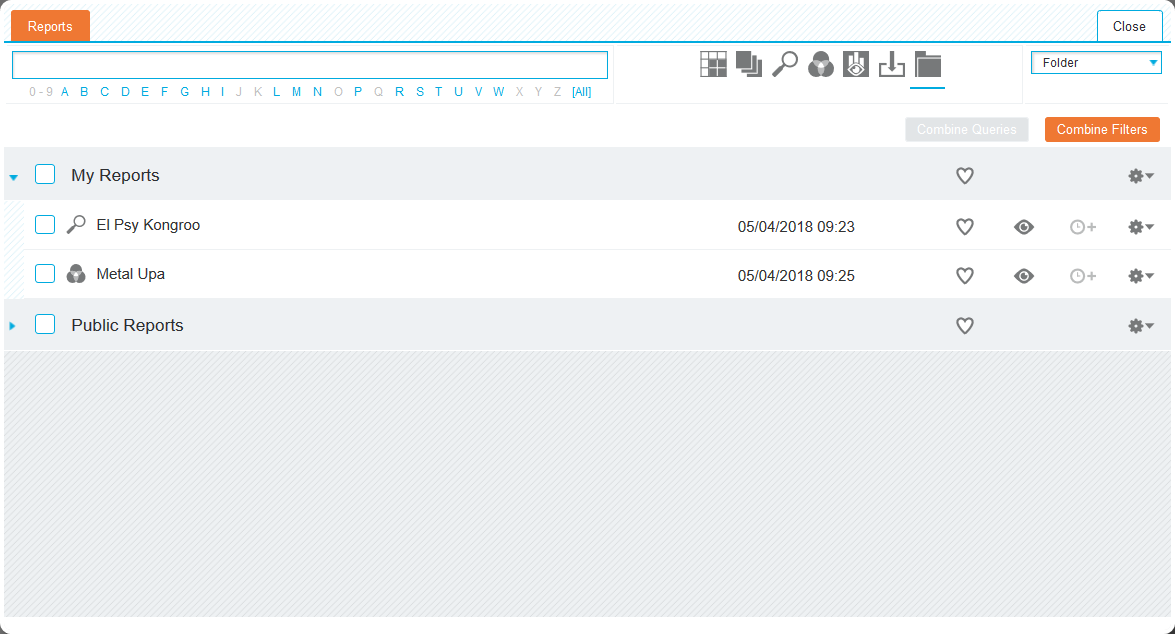
To load a saved report, click Load menu link at the top of the screen in any area of functionality. The 'Saved Reports' window will list all available reports.
Search and Filter
To search for reports use the big textbox on the top. As you type your query report names and descriptions are included in matches, with the results updated dynamically.
You can also filter the results by type or letter:
-
By type: Click the type icons to the right of the search bar to filter the results. The selected report types are underlined with a blue coloured line once selected. When no type is selected then all available reports are shown (default).
Icon Description 
Shows the Crosstab reports 
Shows the Pages reports 
Shows the Query reports 
Shows the Venn reports 
Shows the Analytics Viewer reports 
Shows the External reports By default, folders are only displayed if they contain saved reports. You can use the folder
 icon toggles to show or hide empty folders.
 - By letter: Click one of the blue coloured letters just below the search bar narrows the results to the reports which start with that letter. Use 0-9 to show only the reports starting with a number or All to show them all.
You can change the view of the results using the drop-down list at the top-right of the window. Select one of the following:
-
Folder (default): Displays folders, subfolders and reports starting with the "My Reports" folder.
 Recycle Bin
If there are deleted items a "Recycle Bin" folder will appear at the top. You can perform the following actions:
- Click the x icon next to an item to permanently remove it from the database
- Restore: Restores an item to its original location
- Empty: Permanently removes all of the contained items
- Viewer: Offers a thumbnail viewer style display of saved reports
- Owner: Displays a folder for each user, listed alphabetically
- Modified: Displays the folders as dates listed in descending order
- Last Used: Displays the folders as dates and lists them in descending order
- Most Used: Displays the folders as numbers and lists them in descending order
- Index: Alphabetically displays a folder for each index that exists in the current search engine
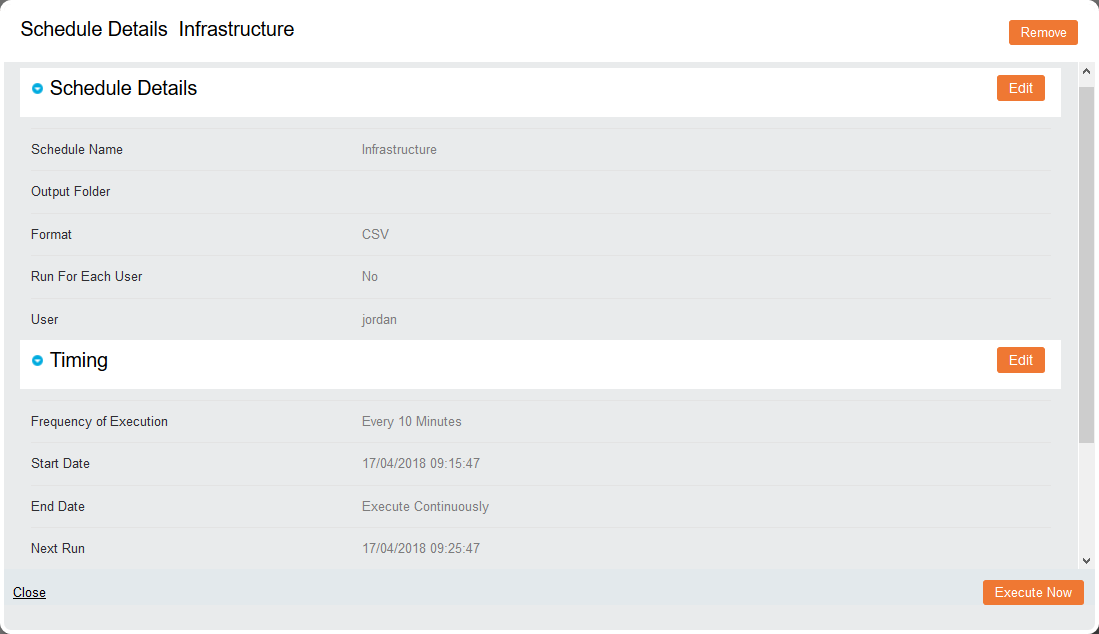
- Schedule: Displays two folders to group reports based on whether they are scheduled or not
- Tags: Displays only reports that contain tags
- Linked
- Templates: Displays only reports that have been saved as templates,
- Favourites: Groups the reports in Favourites and Not Favourites
The following options are also available:
-
Combine Queries: The Combine Queries option allows you to select multiple saved queries and load them so that the search strings are all combined into a single query.
Example: For the queries Beef Products – *beef* and Chicken Products – *chicken* loading them using Combine Filters, the following is displayed:
(+(beef*) +(*:*)) OR (+(chicken*) +(*:*))
The combined query shows records fro both beef and chicken products.
- Combine Filters: Enable this before viewing a report allows you to also include any current search criteria or filters. The button will turn white to indicate that it will combine filters when the report is shown.
Manage Single Reports

Each saved report entry contains several elements.
| Element | Description | |||||||||||||||||||||
|---|---|---|---|---|---|---|---|---|---|---|---|---|---|---|---|---|---|---|---|---|---|---|
| Checkbox | Activates the Selected Reports tab | |||||||||||||||||||||
| Type icon | Indicates the type of the report as described in Search and Filter. | |||||||||||||||||||||
| Name | Clicking on the name also loads the report against the latest data in the index. | |||||||||||||||||||||
| Date-Time | The date and time the report was last modified | |||||||||||||||||||||
| Icons |
Allow access to several actions:
|
 Edit: Reconfigure the parameters of the relevant section. Click Save to confirm your changes
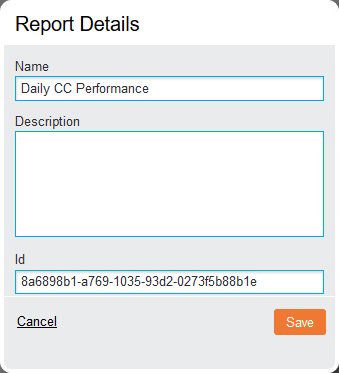
Manage Multiple Reports
Click the checkbox next to one or more saved report to activate the 'Selected Reports' tab. All the selected reports are shown with their checkboxes enabled for executing one of the available batch actions. You can still exclude any report(s) from these actions by disabling the corresponding checkbox(es).
-
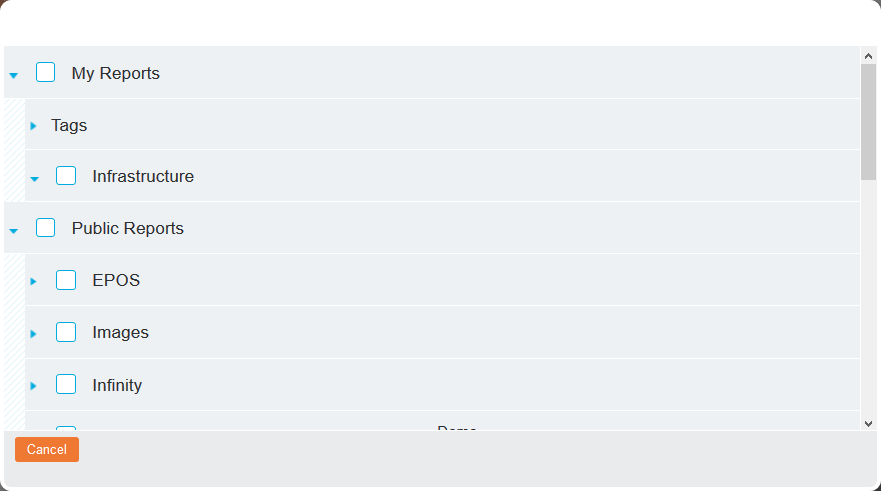
Copy: Copies the selected items to another location without moving the source files. Select the new location by checking the folder's checkbox in the pop-up window.

-
Move: Changes the location of the original files. Select the new location by checking the folder's checkbox in the pop-up window.
- Remove: Deletes multiple files and folders at once (with confirmation). Removed files and folders will not be permanently deleted using this method, but instead moved to the "Recycle Bin" folder.
- Clone: Creates independent copies of the selected reports or folders. The cloned items are created into their source folder, suffixed with a number.
-
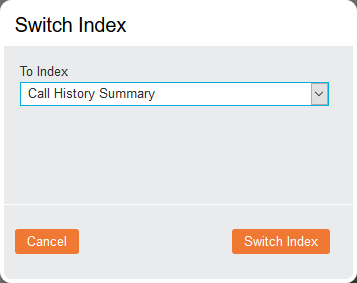
Switch Index: Runs a report against a different index, reducing report creation time by making use of indexes that contain common fields.

Select the required index from the To Index drop-down list and click Switch Index to complete the process.
- Update Filters: By selecting multiple schedules and clicking this, the filter values that are used across separate schedules can be updated. Click Edit next to the relevant filter to make changes and click Apply to save them.
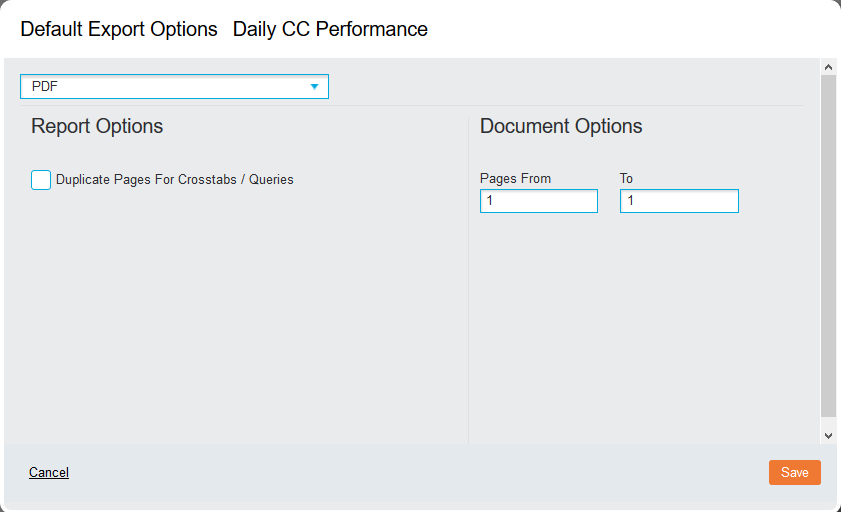
- Export: Downloads the selected items through the currently used web browser as a ".cxairreports" file that can be imported into other Analytics instances.
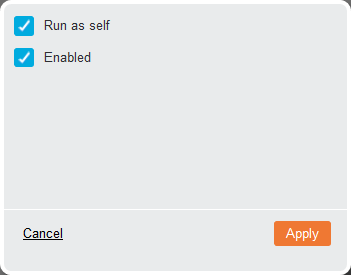
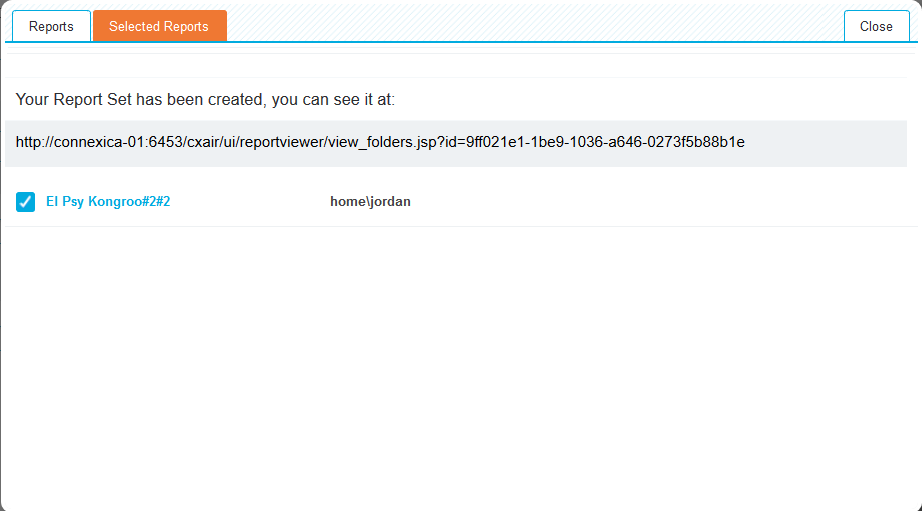
- Generate External URL: Create an Analytics Viewer link that can be accessed by 'view only' users:
- Run as Self: (checkbox): Check this for the reports to load using the current user configuration and data permissions. If unchecked you will be prompted for a different user’s credentials.
- Enabled (checkbox): Controls whether the generated link will be active

Click Apply to generate the URL, then copy and paste it to access the reports in the Analytics Viewer.

- Clear: Deselects all entries in the 'Selected Reports' tab.
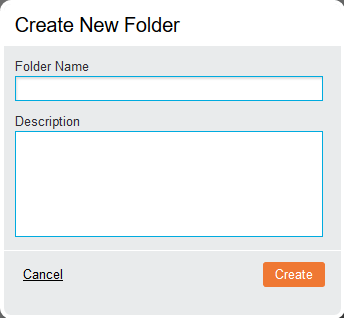
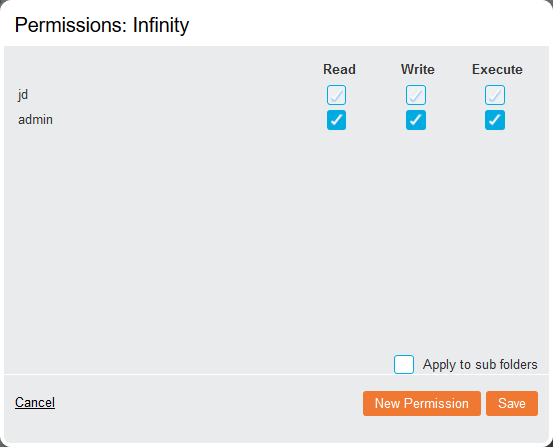
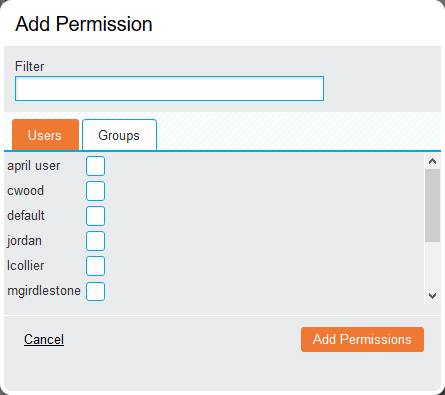
Manage Folders

Each folder entry under "My Reports" or "Public Reports" folders contains several elements.
| Element | Description | |||||||||||||||||||
|---|---|---|---|---|---|---|---|---|---|---|---|---|---|---|---|---|---|---|---|---|
| Checkbox | Activates the Selected Reports tab | |||||||||||||||||||
| Name | The folder name | |||||||||||||||||||
| Icons |
Allow access to several actions:
|
Manage Tags

Each tag entry under "My Reports" folder contains several elements.
| Element | Description | |||||||||||||||
|---|---|---|---|---|---|---|---|---|---|---|---|---|---|---|---|---|
| Checkbox | Activates the Selected Reports tab | |||||||||||||||
| Type icon | A magnifying glass |
|||||||||||||||
| Name | Clicking on the name also loads the tagged query results against the latest data in the index. | |||||||||||||||
| Date-Time | The date and time the tag was last modified | |||||||||||||||
| Icons |
Allow access to several actions:
|
